The OLED display is a compact graphic display with a resolution of 128 x 64 pixels that allows you to draw and display text to create a graphical interface.
Hardware
- Computer
- Arduino UNO
- USB A Male to B Male Cable
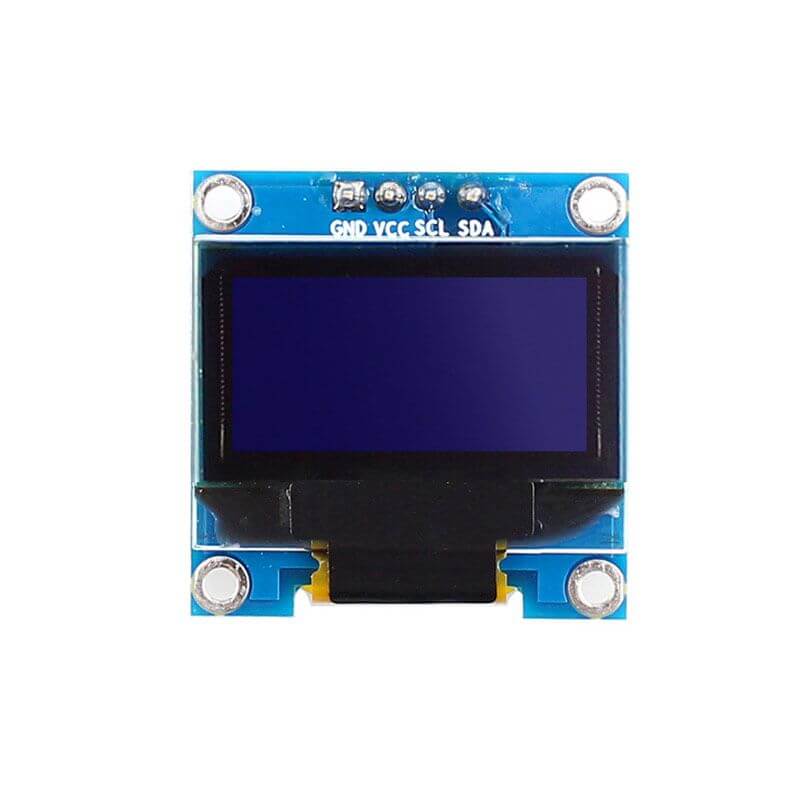
- OLED TF052
Principle of operation
The OLED display TF052 is based on the SSD1306 circuit and interfaces using I2C communication.
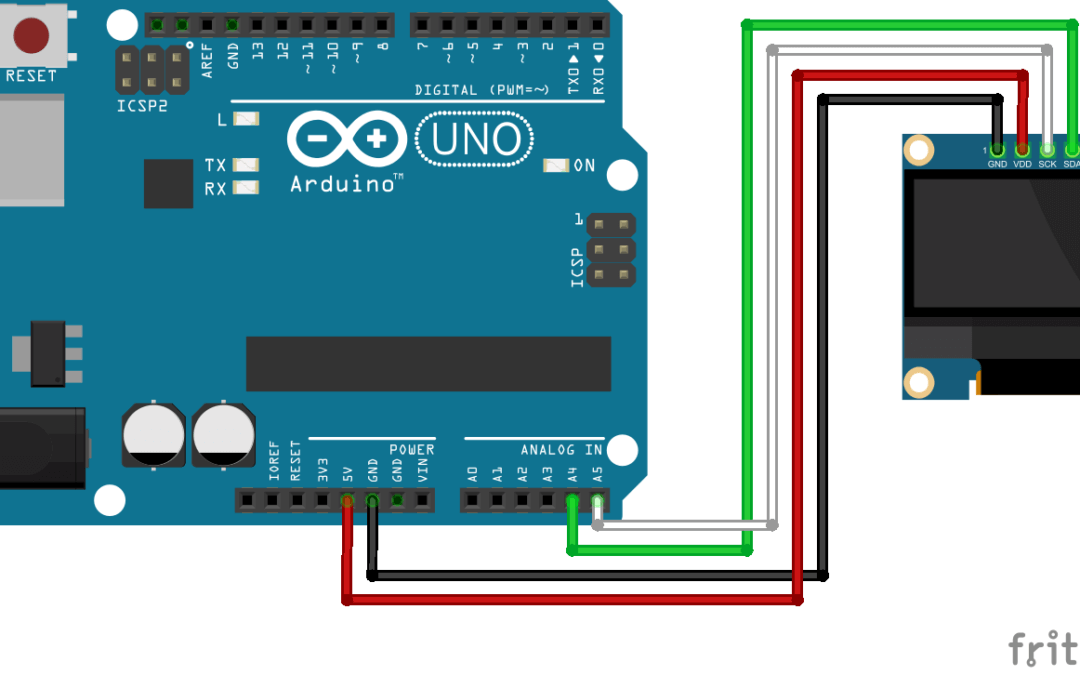
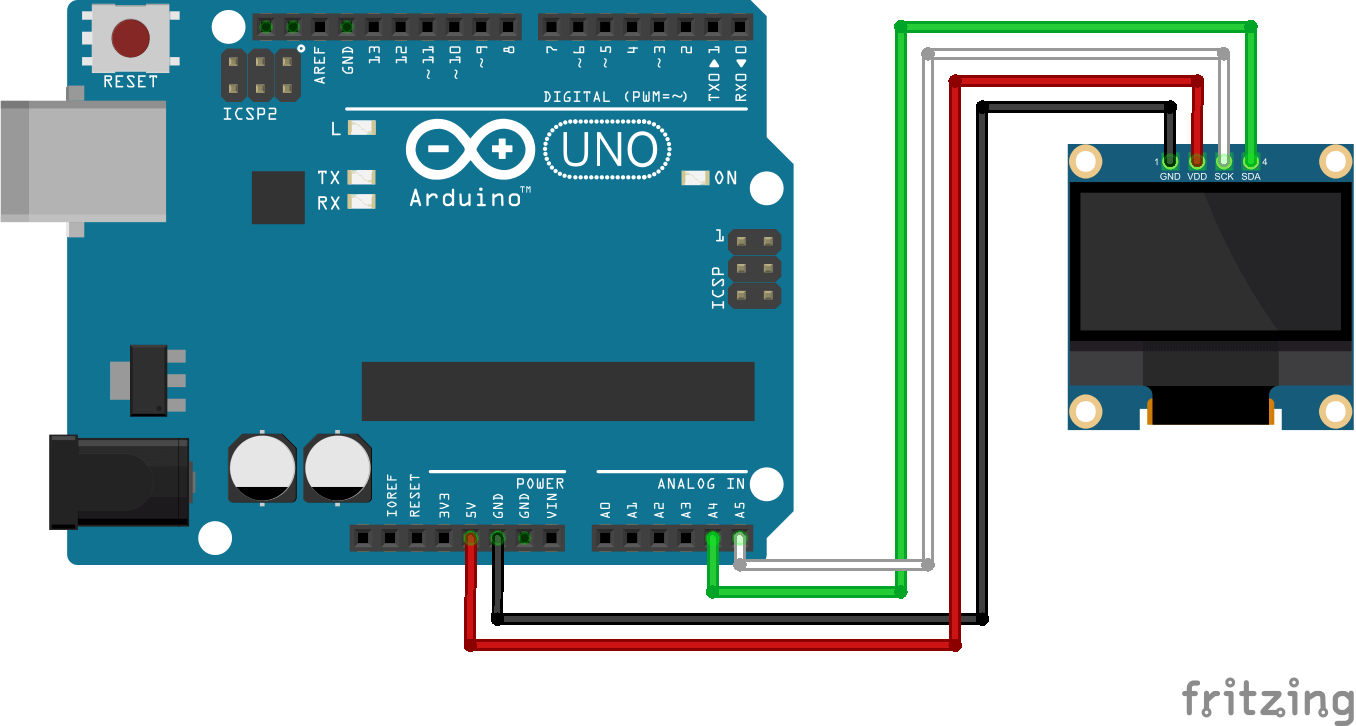
Schematic
The OLED display has 4 pins for display management. It is powered by the microcontroller and is connected to the I2C bus.
- GND Connect to microcontroller ground
- VCC Power supply pin. Typically connected to the 3V or 5V pin of the microcontroller.
- SCL I2C communication clock
- SDA I2C connection data.
Code
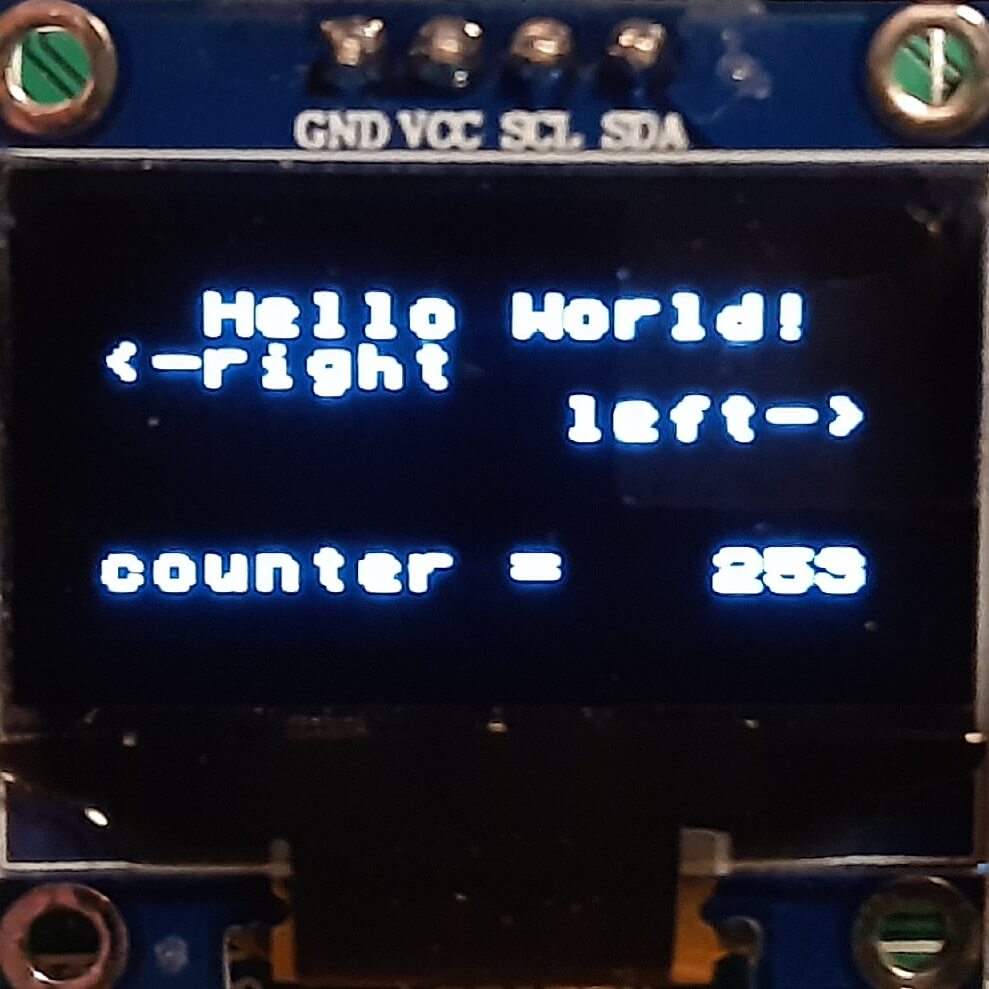
Once your Oled display is correctly connected, you can modify the following code to obtain the desired functionality. In the following example, we will simply perform the display of a meter.
To manage the OLED screen in the programme, the library used is U8x8lib.h whose functions are as follows:
- U8X8_SH1106_128X64_NONAME_HW_I2C u8x8(U8X8_PIN_NONE); to set the screen according to type
- u8x8.begin(); to initialise the screen
- u8x8.setPowerSave(0) to illuminate the screen
- u8x8.setFont(u8x8_font_chroma48medium8_r) to set the font used
- u8x8.setFlipMode(0) to set the orientation.
- u8x8.drawString() to write on the screen
Other more specific functions exist to draw rectangles, lines or to display images.
//Libraries
#include <U8x8lib.h>//https://github.com/olikraus/u8glib

//Parameters
char cstr [16];//To convert int to char

//Variables
int oledCount  = 0;

//Objects
U8X8_SH1106_128X64_NONAME_HW_I2C u8x8(U8X8_PIN_NONE);

void setup() {
  //Init Serial USB
  Serial.begin(9600);
  Serial.println(F("Initialize System"));
  //Init OLED screen
  u8x8.begin();
  u8x8.setPowerSave(0);
  u8x8.setFont(u8x8_font_chroma48medium8_r);
  u8x8.setFlipMode(0);
  drawCentered(1, "Hello World!");
  u8x8.drawString(0, 2, "<-right");
  drawLeft(3, "left->");
  u8x8.drawString(0, 6, "counter =");
}

void loop() {
  OledCounter();
}

void OledCounter() { /* function OledCounter */
  //// Create a counter
  drawLeft(6, itoa(oledCount, cstr, 10));
  oledCount += 1;
  if (oledCount > 255) {
    oledCount = 0;
    drawLeft(6, "    ");
  }
  delay(200);
}

void drawCentered(int lin, char* str) { /* function drawCentered */
  //// Create a counter
  int col = int((16 - String(str).length()) / 2);
  u8x8.drawString(col, lin, str);
}

void drawLeft(int lin, char* str) { /* function drawLeft */
  //// Create a counter
  int col = 15 - String(str).length();
  u8x8.drawString(col, lin, str);
}
Results
Observe carefully where the displayed strings are placed and play with the input parameters of the functions to compare their effects. This will allow you to have a better understanding of the library and a better understanding of the Oled module’s functionalities.
Applications
- Make a clock
- Make an interactive menu with a rotary encoder
Sources
Find other examples and tutorials in our Automatic code generator
Code Architect


