,
La biblioteca OpenCV se utiliza para el procesamiento de imágenes, en particular el reconocimiento de formas y colores. La biblioteca tiene funciones de adquisición y algoritmos de procesamiento de imágenes que hacen que el reconocimiento de imágenes sea bastante sencillo sin necesidad de inteligencia artificial. Eso es lo que veremos en este tutorial.
Este tutorial se puede aplicar a cualquier ordenador con una instalación de Python con OpenCV y una Cámara. En particular la Raspberry Pi.
Hardware
- Ordenador con una instalación de python3
Preparar el entorno de trabajo
Para crear el script de reconocimiento de formas, instalamos los módulos OpenCV, numpy e imutils para manipular y procesar las imágenes.
pip3 install opencv-python numpy imutilsLa detección de colores se realiza mediante los módulos webcolors y scipy (KDTree)
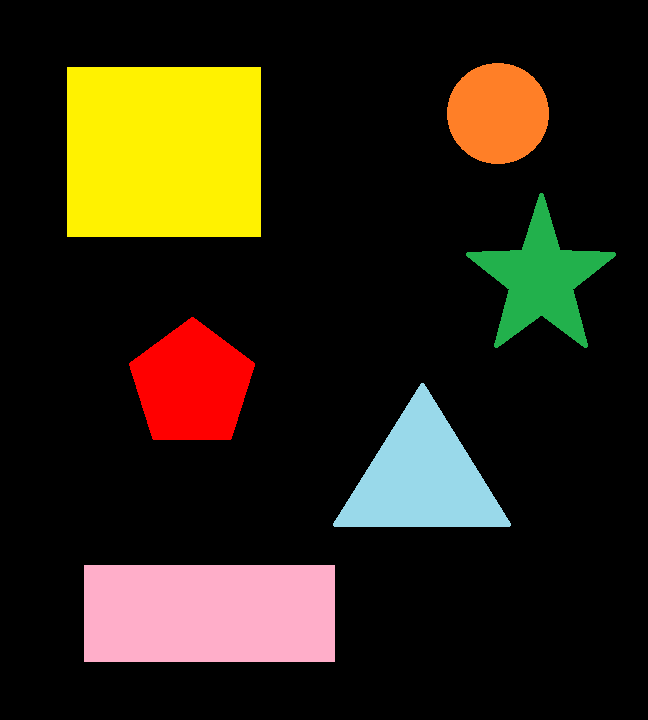
pip3 install webcolors scipyPara probar y validar el algoritmo, creamos una imagen que contiene objetos de diferentes formas y colores. Puedes crear tu propia imagen con Paint o utilizar ésta:

Principio de funcionamiento
En el siguiente código, vamos a crear una clase de detección de formas que nos permitirá seleccionar una forma basada en el número de contornos encontrados. A continuación, vamos a definir una función para encontrar el nombre del color basado en su código RGB. Por último, vamos a utilizar OpenCV para cargar, filtrar y enmascarar la imagen con el fin de detectar las formas y los colores contenidos en la imagen.
Código completo para el reconocimiento sencillo de formas y colores
Es necesario crear el archivo python ObjectDetection.py en la misma carpeta que la imagen que se desea analizar.
#!/usr/bin/env python
# -*- coding: utf-8 -*-

# import the necessary packages
import cv2
import numpy as np
import imutils

#colors
from webcolors import rgb_to_name,CSS3_HEX_TO_NAMES,hex_to_rgb #python3 -m pip install webcolors
from scipy.spatial import KDTree

def convert_rgb_to_names(rgb_tuple):
    # a dictionary of all the hex and their respective names in css3
    css3_db = CSS3_HEX_TO_NAMES#css3_hex_to_names
    names = []
    rgb_values = []
    for color_hex, color_name in css3_db.items():
        names.append(color_name)
        rgb_values.append(hex_to_rgb(color_hex))

    kdt_db = KDTree(rgb_values)
    distance, index = kdt_db.query(rgb_tuple)
    return names[index]

class ShapeDetector:
	def __init__(self):
		pass
	def detect(self, c):
		# initialize the shape name and approximate the contour
		shape = "unidentified"
		peri = cv2.arcLength(c, True)
		approx = cv2.approxPolyDP(c, 0.04 * peri, True)

		# if the shape is a triangle, it will have 3 vertices
		if len(approx) == 3:
			shape = "triangle"
		# if the shape has 4 vertices, it is either a square or
		# a rectangle
		elif len(approx) == 4:
			# compute the bounding box of the contour and use the
			# bounding box to compute the aspect ratio
			(x, y, w, h) = cv2.boundingRect(approx)
			ar = w / float(h)
			# a square will have an aspect ratio that is approximately
			# equal to one, otherwise, the shape is a rectangle
			shape = "square" if ar >= 0.95 and ar <= 1.05 else "rectangle"
		# if the shape is a pentagon, it will have 5 vertices
		elif len(approx) == 5:
			shape = "pentagon"
		elif len(approx) == 6:
			shape = "hexagon"
		elif len(approx) == 10 or len(approx) == 12:
			shape = "star"
		# otherwise, we assume the shape is a circle
		else:
			shape = "circle"
		# return the name of the shape
		return shape

if __name__ == '__main__':
	# load the image and resize it to a smaller factor so that
	# the shapes can be approximated better
	image = cv2.imread('python_shapes_detection_base.PNG')
	resized = imutils.resize(image, width=300)
	ratio = image.shape[0] / float(resized.shape[0])

	# convert the resized image to grayscale, blur it slightly,
	# and threshold it
	gray = cv2.cvtColor(resized, cv2.COLOR_BGR2GRAY)
	blurred = cv2.GaussianBlur(gray, (5, 5), 0)
	thresh = cv2.threshold(blurred, 60, 255, cv2.THRESH_BINARY)[1]

	# find contours in the thresholded image and initialize the
	# shape detector
	cnts = cv2.findContours(thresh.copy(), cv2.RETR_EXTERNAL,
		cv2.CHAIN_APPROX_SIMPLE)
	cnts = imutils.grab_contours(cnts)
	sd = ShapeDetector()

	# loop over the contours
	for c in cnts:
		# compute the center of the contour
		M = cv2.moments(c)
		cX = int((M["m10"] / M["m00"]) * ratio)
		cY = int((M["m01"] / M["m00"]) * ratio)

		#detect shape from contour
		shape = sd.detect(c)

		# resize the contour
		c = c.astype("float")
		c *= ratio
		c = c.astype("int")
		cv2.drawContours(image, [c], -1, (0, 255, 0), 2)

		#draw contour with mask
		mask = np.zeros(image.shape[:2], np.uint8)
		cv2.drawContours(mask, [c], -1, 255, -1)
		img = cv2.cvtColor(image, cv2.COLOR_BGR2HSV)

		#Convert to RGB and get color name
		imgRGB = cv2.cvtColor(image, cv2.COLOR_BGR2RGB)
		mean=cv2.mean(imgRGB, mask=mask)[:3]
		named_color = convert_rgb_to_names(mean)

		#get complementary color for text
		mean2 = (255-mean[0],255-mean[1],255-mean[2])

		#display shape name and color
		objLbl=shape+" {}".format(named_color)
		textSize = cv2.getTextSize(objLbl,cv2.FONT_HERSHEY_SIMPLEX,0.5,2)[0]
		cv2.putText(image, objLbl, (int(cX-textSize[0]/2),int(cY+textSize[1]/2)), cv2.FONT_HERSHEY_SIMPLEX,0.5,mean2, 2)

		#show image
		cv2.imshow("Image", image)
		#cv2.waitKey(0)
	cv2.waitKey(0)
Resultados
Para ejecutar el script, puede ejecutarlo desde su editor de código (como Geany) o ejecutar el siguiente comando en un terminal de comandos abierto en su carpeta de trabajo.python3 ObjectDetection.py
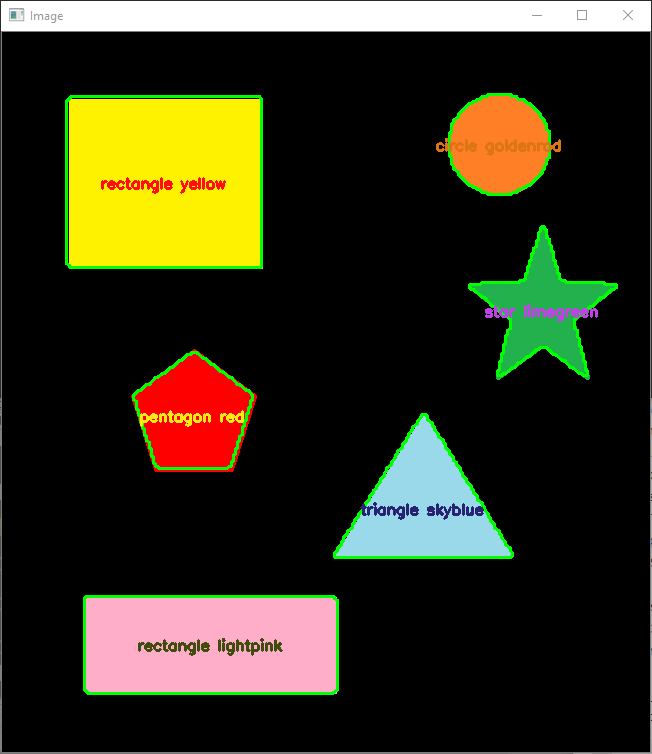
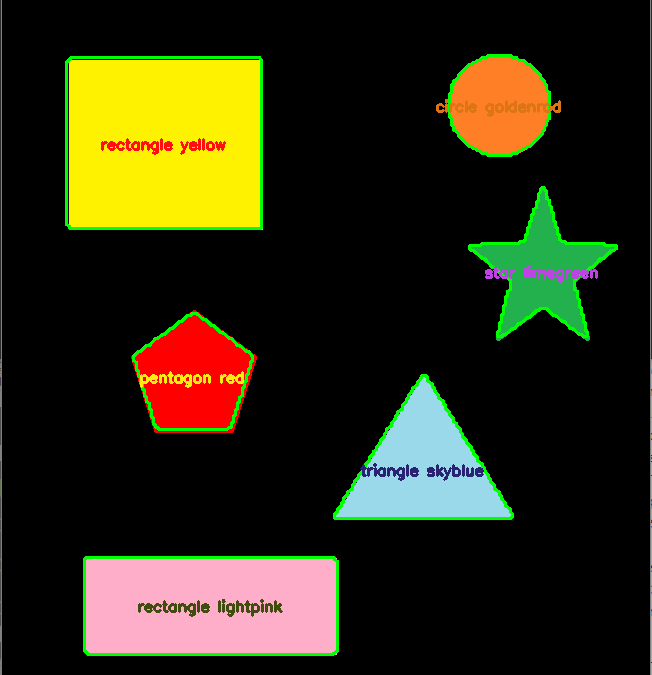
Una vez ejecutado el código, se mostrará la imagen con cada una de las formas rodeadas de verde y un texto en el centro de la forma que contiene el nombre y el color de la forma.

N.B.: Este algoritmo no funcionará para todas las formas. Para detectar otras formas debe adaptar la función detect de la clase ShapeDetector para identificar todos los casos posibles o utilizar inteligencia artificial.
Aplicaciones
- Construye una máquina clasificadora basada en el color o la forma
- Detectar objetos en tiempo real a partir de las imágenes de la cámara


gracias