Um dos principais objectivos da robótica é articular objectos. E para isso, podemos também atuar sobre a articulação dos objectos através da ação do utilizador diretamente no sistema. Neste artigo, vamos ver como programar a placa Arduino para controlar servomotores com um joystick.
Pré-requisitos: Controlo de um servomotor com Arduino, Utilizar um joystick com o Arduino
Hardware
- Computador
- Placa Arduino Nano
- Cabo USB para ligar a placa Arduino ao PC
- 4x cabos fêmea
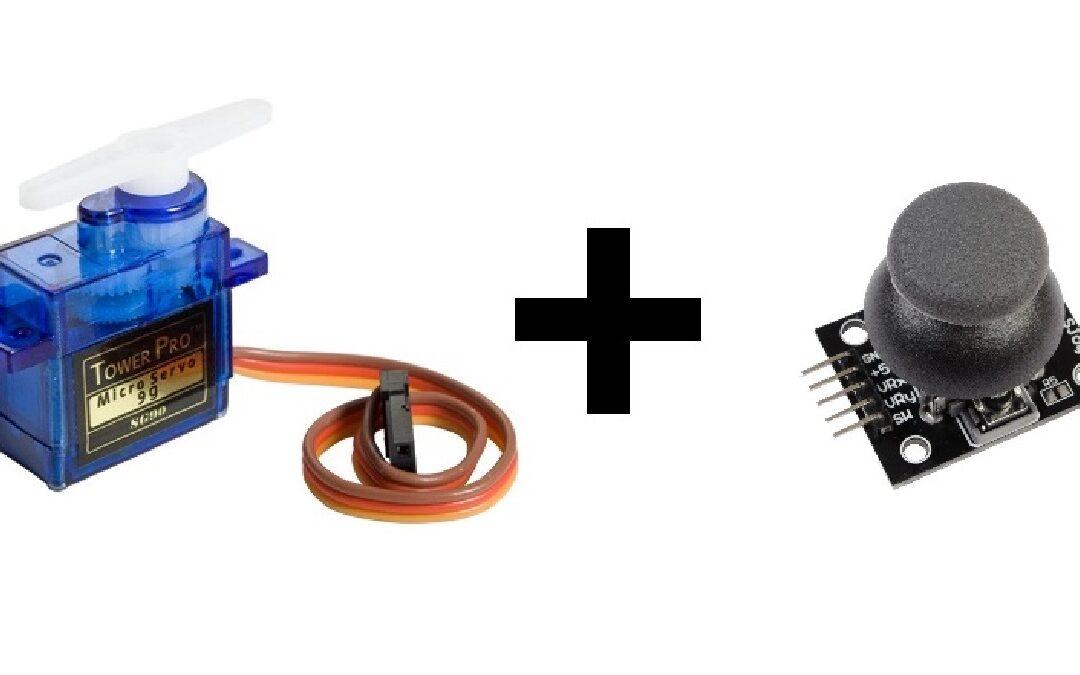
- 2x servomotor SG90 9G
- 1x joystick Modulo KYO-23
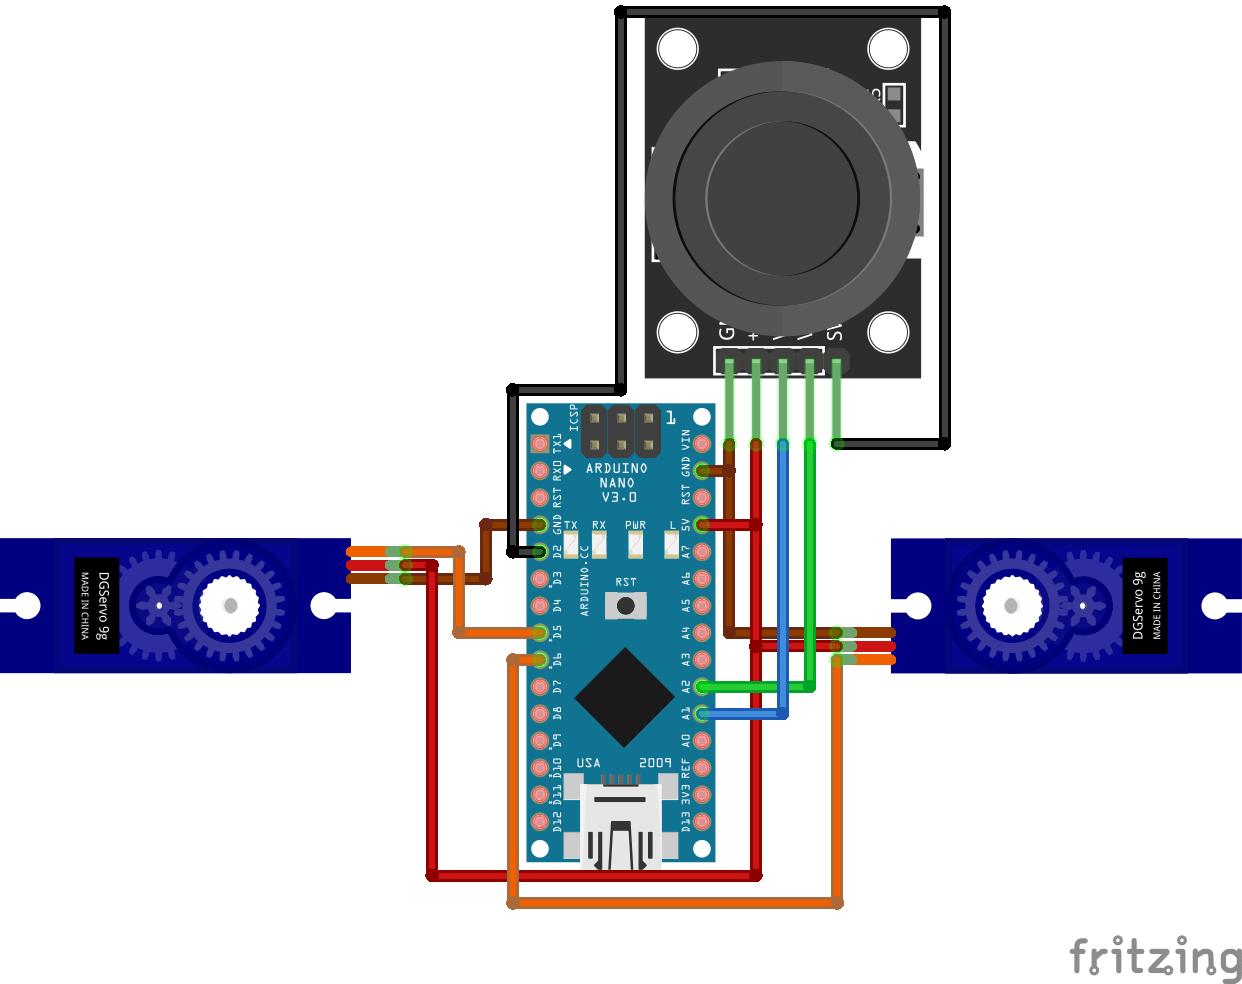
Esquema de ligação
Os servomotores são alimentados por uma tensão através dos fios castanhos da terra comum (GND) e dos fios vermelhos da fonte de tensão (5V). Aqui estão ligados diretamente à fonte de tensão de 5V do Arduino Nano e são controlados por sinais PWM enviados para os fios cor de laranja (terminal 5 e terminal 6). O joystick, também alimentado por uma tensão de 5V e terra comum (GND), devolve dois valores analógicos que iremos ligar às entradas analógicas do microcontrolador. Também devolve um valor digital, que ligamos ao pino 2 do microcontrolador.
Explicações e código
Vamos programar a placa Arduino Nano de modo a que o Joystick indique o sentido de rotação dos motores. Para isso, vamos interpretar a ligação dos nossos 2 servomotores como 2 rodas motorizadas cuja direção depende dos 2 valores analógicos devolvidos pelo Joystick. Estes dois valores correspondem às coordenadas YX do Joystick, cada uma variando de 0 a 1023. Para compreender a lógica do nosso programa, podemos representá-lo com um diagrama num plano YX:

Aqui, podemos ver que as coordenadas do Joystick correspondem a estados no nosso sistema, que por sua vez correspondem a directivas para controlar os nossos servomotores.
Este joystick tem um botão de pressão incorporado, que iremos simplesmente programar para exibir uma mensagem quando for premido. Para controlar os servomotores, vamos utilizar a biblioteca ServoLib.h (que pode encontrar no final deste artigo).
// headers for library
#include <Arduino.h> //only used on PlatformIO IDE on VSCode. Not needed on Arduino IDE.
#include <ServoLib.h>
// function's prototypes used
void printing_results(int x, int y);
void motor_joystick_controlled(int xValue,int yValue);
void MotorAvancer();
void MotorReculer();
void MotorDroite();
void MotorGauche();
void MotorAvancerDroite();
void MotorAvancerGauche();
void MotorReculerDroite();
void MotorReculerGauche();
void MotorStop();
// declaration of pins used
#define joyX A1
#define joyY A2
const int joyBtn = 2;
// Motors definition
ServoLib motorG;
const int motorGPin = 5;
const int motorGZero = 1500;
ServoLib motorD;
const int motorDPin = 6;
const int motorDZero = 1400;
// Variables
int Power = 400; //Motor velocity
// initialization
void setup()
{
Serial.begin(9600); // open to communicate via serial port
motorG.associePin(motorGPin);// pins assignment ...
motorD.associePin(motorDPin);// ... for right and left motors
pinMode(joyBtn,INPUT_PULLUP); // button initialization (TOR = 0 or 1)
MotorStop(); // stop motors as initial state
}
// main loop
void loop()
{
int xValue = analogRead(joyX); // read joystick ...
int yValue = analogRead(joyY); // ... position
printing_results(xValue, yValue); // display of Joystick coordinates
motor_joystick_controlled(xValue,yValue); // definition of the state of the motors
//according to the coordinates of the joystick
}
// function to display the position of the joystick as well as the state of the button if pressed
void printing_results(int x, int y) // only used for debugging/monitoring the response of the joystick
{ Serial.print(x);
Serial.print("\t");
Serial.println(y);
if (!digitalRead(joyBtn))
{Serial.println(F("Joy Button pressed"));}//if the button is pressed, display "Joy Button pressed"
}
// motor status montoring function based on XY coordinates
void motor_joystick_controlled(int xValue,int yValue)
{
if(639<xValue && 382<yValue && yValue<639)
{ MotorAvancer();
Serial.println(F("avancer"));} //only used for debugging/monitoring the state of the motors
else if(xValue<382 && 382<yValue && yValue<639)
{ MotorReculer();
Serial.println(F("reculer"));} //only used for debugging/monitoring the state of the motors
else if(382<xValue && xValue<639 && 639<yValue)
{ MotorDroite();
Serial.println(F("tourner vers la droite"));} //only used for debugging/monitoring the state of the motors
else if(382<xValue && xValue<639 && yValue<382)
{ MotorGauche();
Serial.println(F("tourner vers la gauche"));} //only used for debugging/monitoring the state of the motors
else if(639<xValue && 639<yValue)
{ MotorAvancerDroite();
Serial.println(F("avancer et tourner a droite"));} //only used for debugging/monitoring the state of the motors
else if(639<xValue && yValue<382)
{ MotorAvancerGauche();
Serial.println(F("avancer et tourner a gauche"));}//only used for debugging/monitoring the state of the motors
else if(xValue<382 && 639<yValue)
{ MotorReculerDroite();
Serial.println(F("reculer et tourner à droite"));}//only used for debugging/monitoring the state of the motors
else if(xValue<382 && yValue<382)
{ MotorReculerGauche();
Serial.println(F("reculer et tourner a gauche"));}//only used for debugging/monitoring the state of the motors
else
{ MotorStop();
Serial.println(F("arret totale"));}//only used for debugging/monitoring the state of the motors
}
// function for forward state
void MotorAvancer()
{ motorG.appliquerImpulsion(motorGZero + Power);
motorD.appliquerImpulsion(motorDZero - Power);}
// function for backward state
void MotorReculer()
{ motorG.appliquerImpulsion(motorGZero - Power);
motorD.appliquerImpulsion(motorDZero + Power);}
// function for turn right state
void MotorDroite()
{ motorG.appliquerImpulsion(motorGZero + Power);
motorD.appliquerImpulsion(motorDZero + Power);}
// function for turn left state
void MotorGauche()
{ motorG.appliquerImpulsion(motorGZero - Power);
motorD.appliquerImpulsion(motorDZero - Power);}
// function for turn right and forward state
void MotorAvancerDroite()
{ motorG.appliquerImpulsion(motorGZero + Power);
motorD.appliquerImpulsion(motorDZero);}
// function for turn left and forward state
void MotorAvancerGauche()
{ motorG.appliquerImpulsion(motorGZero);
motorD.appliquerImpulsion(motorDZero - Power);}
// function for turn right and backward state
void MotorReculerDroite()
{ motorG.appliquerImpulsion(motorGZero - Power);
motorD.appliquerImpulsion(motorDZero);}
// function for turn left and backward state
void MotorReculerGauche()
{ motorG.appliquerImpulsion(motorGZero);
motorD.appliquerImpulsion(motorDZero + Power);}
// function for stop state
void MotorStop()
{ digitalWrite(motorDPin,LOW);
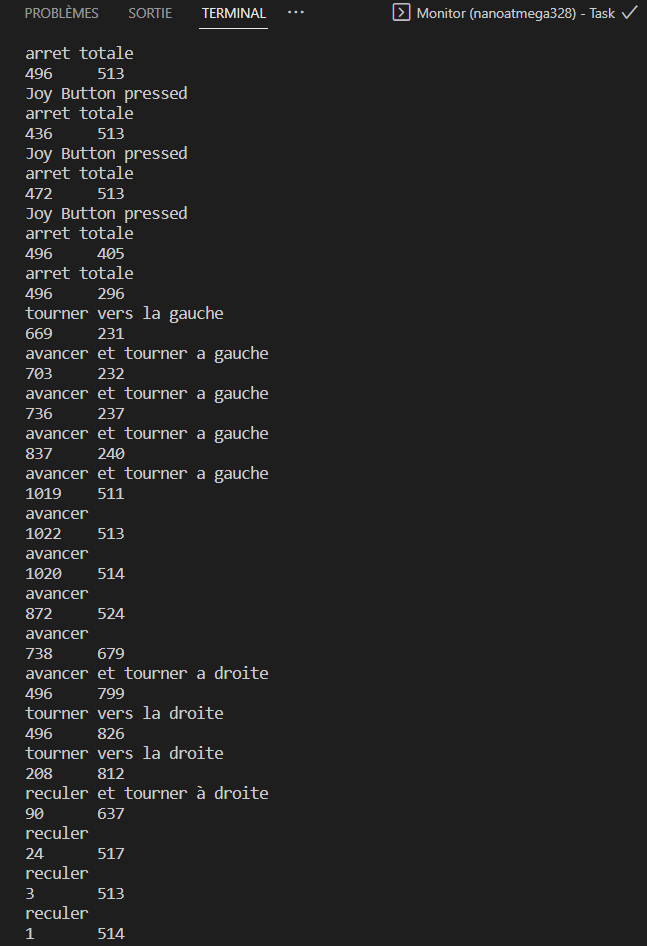
digitalWrite(motorGPin,LOW);}Resultados
Uma vez carregado o código no microcontrolador, deve ver na porta série os valores de X e Y a mudar em função da posição do joystick, bem como os estados dos motores correspondentes e a mensagem apresentada quando o botão é premido.
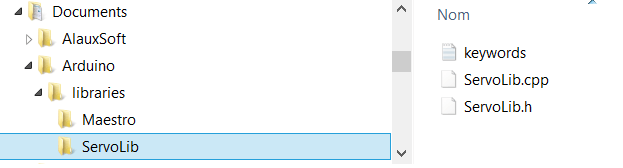
Livraria ServoLib.h
Para utilizar esta biblioteca, é necessário criar e colocar os seguintes ficheiros numa pasta no diretório de bibliotecas do seu software de programação:
Se estiver a programar em ¨Visual Studio Code com PlatformIO IDE, pode encontrar a biblioteca para o seu projeto aqui: DocumentsPlatformIO\Projects\Servo_Joystick_Control\lib\ServoLib
Ficheiro ServoLib.cpp :
//Librairie
#include <Servo.h>
//Déclaration des constantes
#define UPDATE_TIME 15
#define MAX_POS 180
#define MIN_POS 0
//Déclaration des paramètres
int servoPin = 9;
int pulse = 1500;
//Déclaration des variables
Servo myServo;  // création d'un objet Servo
// Sur la plupart des cartes, on peut créer jusqu'à douze objets
int pos=0;    // variable contenant la position du servomoteur
void setup() {
  myServo.attach(servoPin);
}
void loop() {
  for (pos = MIN_POS; pos <= MAX_POS; pos += 1) {
    myServo.write(pos);
    delay(UPDATE_TIME);
  }
  for (pos = MAX_POS; pos >= MIN_POS; pos -= 1) {
    myServo.write(pos);
    delay(UPDATE_TIME);
  }
}
Ficheiro ServoLib.h :
#include <ServoLib.h>
ServoLib::ServoLib(){}
void ServoLib::associePin(int pin){
  servoPin=pin;
  pinMode(servoPin,OUTPUT);
}
void ServoLib::envoiePosition(int value){
  int pulse=0;
  if (value<MIN_POS)
    value=MIN_POS;
  else if (value>MAX_POS)
    value=MAX_POS;
  value=map(value,MIN_POS,MAX_POS,MIN_PULSE_WIDTH,MAX_PULSE_WIDTH);
  pulse=this->convertirAngleEnImpulsion(value);
  this->appliquerImpulsion(pulse);
}
void ServoLib::appliquerImpulsion(int pulse){
  digitalWrite(servoPin,HIGH);
  delayMicroseconds(pulse);
  digitalWrite(servoPin,LOW);
  delay(UPDATE_TIME);
}
int ServoLib::convertirAngleEnImpulsion(int ang){
  float a = 2500/180;
  float b = 500;
  return int(a*ang+b);
}
O ficheiro keyword.txt é opcional. É utilizado para alterar a cor dos nomes das funções no programa.
#######################################
# Syntax Coloring Map ServoLib
#######################################
#######################################
# Datatypes (KEYWORD1)
#######################################
ServoLib  KEYWORD1  ServoLib
#######################################
# Methods and Functions (KEYWORD2)
#######################################
associePin KEYWORD2
envoiePosition  KEYWORD2
convertirAngleEnImpulsion KEYWORD2
appliquerImpulsion KEYWORDS2
#######################################
# Constants (LITERAL1)
#######################################
UPDATE_TIME LITERAL1
MIN_POS LITERAL1
MAX_POS LITERAL1
MIN_PULSE_WIDTH LITERAL1
MAX_PULSE_WIDTH LITERAL1
Aplicações
- Criar um controlo remoto para acionar o seu microcontrolador
- Utilizar um ou mais joysticks para controlar um braço de robô articulado por servomotores