Uno de los principales objetivos de la robótica es articular objetos. Y para ello, también podemos actuar sobre la articulación de los objetos mediante la acción del usuario directamente sobre el sistema. En este artículo, veremos cómo programar la placa Arduino para controlar servomotores con un joystick.
Requisitos previos: Control de un servomotor con Arduino, Uso de un joystick con Arduino
Hardware
- Ordenador
- Placa Arduino Nano
- Cable USB para conectar la placa Arduino al PC
- 4x cables hembra
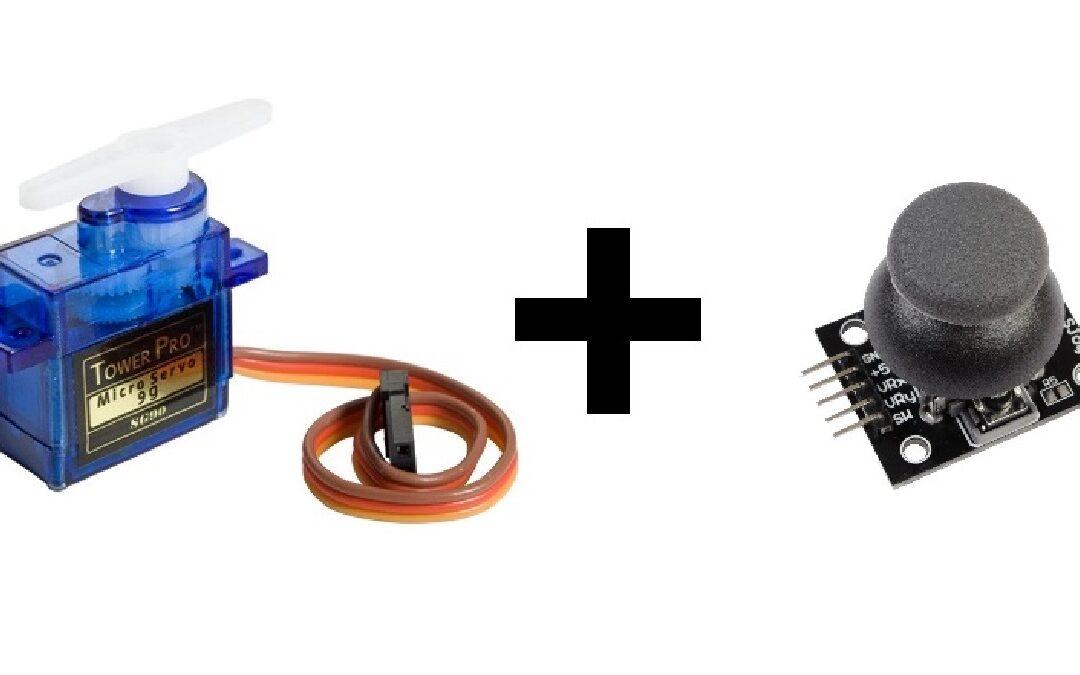
- 2x servomotor SG90 9G
- 1x joystick Modulo KYO-23
Esquema de conexión
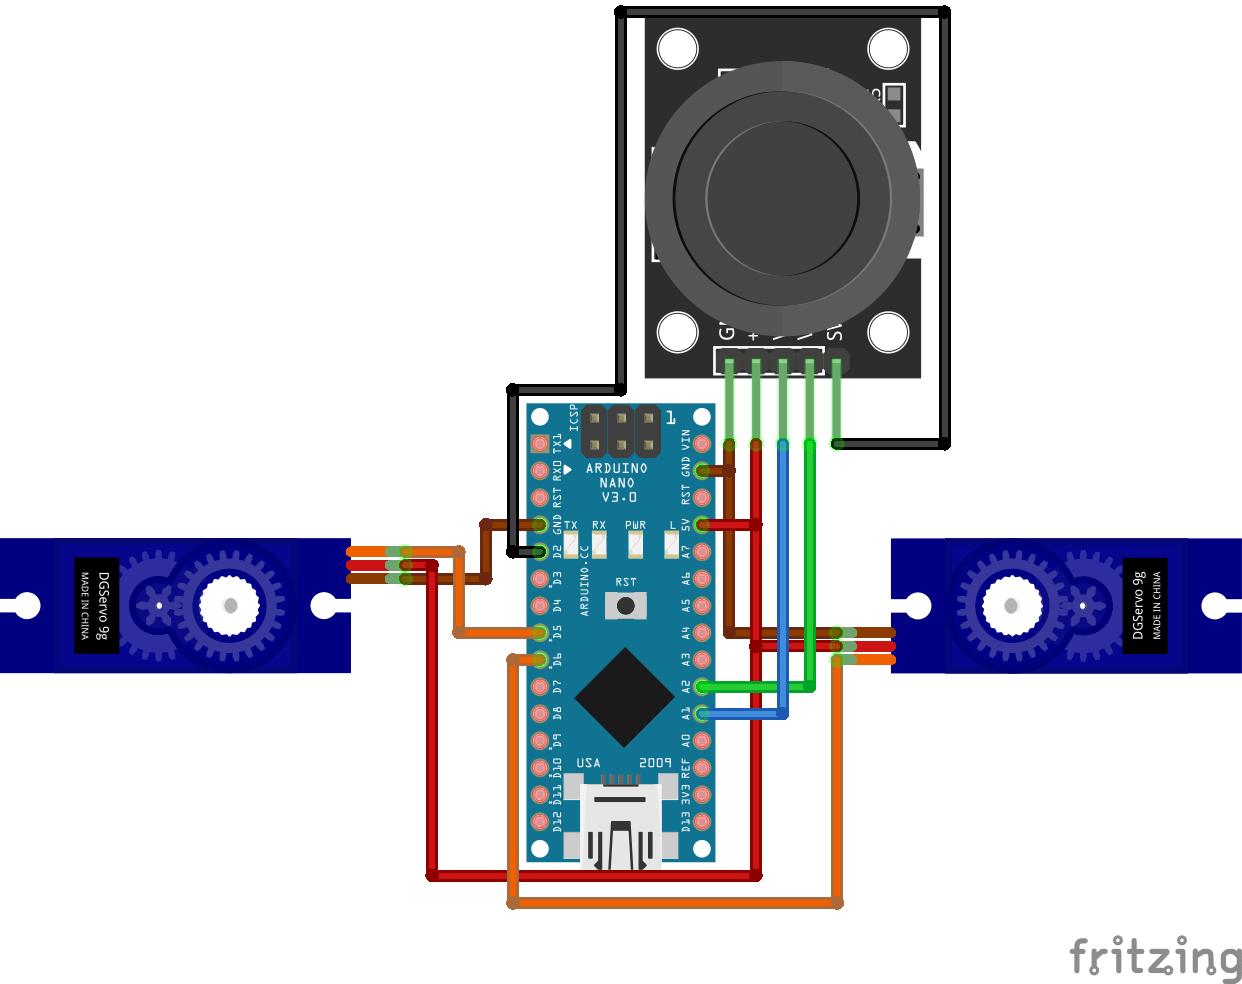
Los servomotores son alimentados por un voltaje a través de los cables marrones de la masa común (GND) y los cables rojos de la fuente de voltaje (5V). Aquí están conectados directamente a la fuente de tensión de 5V del Arduino Nano, y son controlados por señales PWM enviadas a los cables naranjas (terminal 5 y terminal 6). El joystick, también alimentado por una tensión de 5V y masa común (GND), devuelve dos valores analógicos que conectaremos a las entradas analógicas del microcontrolador. También devuelve un valor digital, que conectaremos al pin 2 del microcontrolador.
Explicaciones y código
Vamos a programar la placa Arduino Nano para que el Joystick dirija el sentido de giro de los motores. Para ello, vamos a interpretar la conexión de nuestros 2 servomotores como 2 ruedas motorizadas cuya dirección depende de los 2 valores analógicos devueltos por el Joystick. Estos dos valores corresponden a las coordenadas YX del Joystick, cada una de las cuales va de 0 a 1023. Para entender la lógica de nuestro programa, podemos representarlo con un diagrama en un plano YX:

Aquí, podemos ver que las coordenadas del Joystick corresponden a estados en nuestro sistema, que a su vez corresponden a directivas para controlar nuestros servomotores.
Este joystick tiene un pulsador incorporado, que simplemente programaremos para que muestre un mensaje cuando se pulse. Para controlar los servomotores, usaremos la librería ServoLib.h (que puedes encontrar al final de este artículo).
// headers for library
#include <Arduino.h> //only used on PlatformIO IDE on VSCode. Not needed on Arduino IDE.
#include <ServoLib.h>

// function's prototypes used
void printing_results(int x, int y);
void motor_joystick_controlled(int xValue,int yValue);
void MotorAvancer();
void MotorReculer();
void MotorDroite();
void MotorGauche();
void MotorAvancerDroite();
void MotorAvancerGauche();
void MotorReculerDroite();
void MotorReculerGauche();
void MotorStop();

// declaration of pins used
#define joyX A1
#define joyY A2
const int joyBtn  = 2;

// Motors definition
ServoLib motorG;
const int motorGPin = 5;
const int motorGZero = 1500;
ServoLib motorD;
const int motorDPin = 6;
const int motorDZero = 1400;

// Variables
int Power = 400; //Motor velocity

// initialization
void setup()
{
  Serial.begin(9600); // open to communicate via serial port
  motorG.associePin(motorGPin);// pins assignment ...
  motorD.associePin(motorDPin);// ... for right and left motors
  pinMode(joyBtn,INPUT_PULLUP); // button initialization (TOR = 0 or 1)
  MotorStop(); // stop motors as initial state
}

// main loop
void loop()
{
  int xValue = analogRead(joyX); // read joystick ...
  int yValue = analogRead(joyY); // ... position
  printing_results(xValue, yValue); // display of Joystick coordinates
  motor_joystick_controlled(xValue,yValue); // definition of the state of the motors
                                            //according to the coordinates of the joystick
}

// function to display the position of the joystick as well as the state of the button if pressed
void  printing_results(int x, int y) // only used for debugging/monitoring the response of the joystick
{ Serial.print(x);
  Serial.print("\t");
  Serial.println(y);
  if (!digitalRead(joyBtn))
  {Serial.println(F("Joy Button pressed"));}//if the button is pressed, display "Joy Button pressed"
}

// motor status montoring function based on XY coordinates
void motor_joystick_controlled(int xValue,int yValue)
{
  if(639<xValue && 382<yValue && yValue<639)
  { MotorAvancer();
    Serial.println(F("avancer"));} //only used for debugging/monitoring the state of the motors

  else if(xValue<382 && 382<yValue && yValue<639)
  { MotorReculer();
    Serial.println(F("reculer"));} //only used for debugging/monitoring the state of the motors

  else if(382<xValue && xValue<639 && 639<yValue)
  { MotorDroite();
    Serial.println(F("tourner vers la droite"));} //only used for debugging/monitoring the state of the motors

  else if(382<xValue && xValue<639 && yValue<382)
  { MotorGauche();
    Serial.println(F("tourner vers la gauche"));} //only used for debugging/monitoring the state of the motors

  else if(639<xValue && 639<yValue)
  { MotorAvancerDroite();
    Serial.println(F("avancer et tourner a droite"));} //only used for debugging/monitoring the state of the motors

  else if(639<xValue && yValue<382)
  { MotorAvancerGauche();
    Serial.println(F("avancer et tourner a gauche"));}//only used for debugging/monitoring the state of the motors

  else if(xValue<382 && 639<yValue)
  { MotorReculerDroite();
    Serial.println(F("reculer et tourner à droite"));}//only used for debugging/monitoring the state of the motors

  else if(xValue<382 && yValue<382)
  { MotorReculerGauche();
    Serial.println(F("reculer et tourner a gauche"));}//only used for debugging/monitoring the state of the motors

  else
  { MotorStop();
    Serial.println(F("arret totale"));}//only used for debugging/monitoring the state of the motors
}

// function for forward state
void MotorAvancer()
{ motorG.appliquerImpulsion(motorGZero + Power);
  motorD.appliquerImpulsion(motorDZero - Power);}

// function for backward state
void MotorReculer()
{ motorG.appliquerImpulsion(motorGZero - Power);
  motorD.appliquerImpulsion(motorDZero + Power);}

// function for turn right state
void MotorDroite()
{ motorG.appliquerImpulsion(motorGZero + Power);
  motorD.appliquerImpulsion(motorDZero + Power);}

// function for turn left state
void MotorGauche()
{ motorG.appliquerImpulsion(motorGZero - Power);
  motorD.appliquerImpulsion(motorDZero - Power);}

// function for turn right and forward state
void MotorAvancerDroite()
{ motorG.appliquerImpulsion(motorGZero + Power);
  motorD.appliquerImpulsion(motorDZero);}

// function for turn left and forward state
void MotorAvancerGauche()
{ motorG.appliquerImpulsion(motorGZero);
  motorD.appliquerImpulsion(motorDZero - Power);}

// function for turn right and backward state
void MotorReculerDroite()
{ motorG.appliquerImpulsion(motorGZero - Power);
  motorD.appliquerImpulsion(motorDZero);}

// function for turn left and backward state
void MotorReculerGauche()
{ motorG.appliquerImpulsion(motorGZero);
  motorD.appliquerImpulsion(motorDZero + Power);}

// function for stop state
void MotorStop()
{ digitalWrite(motorDPin,LOW);
  digitalWrite(motorGPin,LOW);}
Resultados
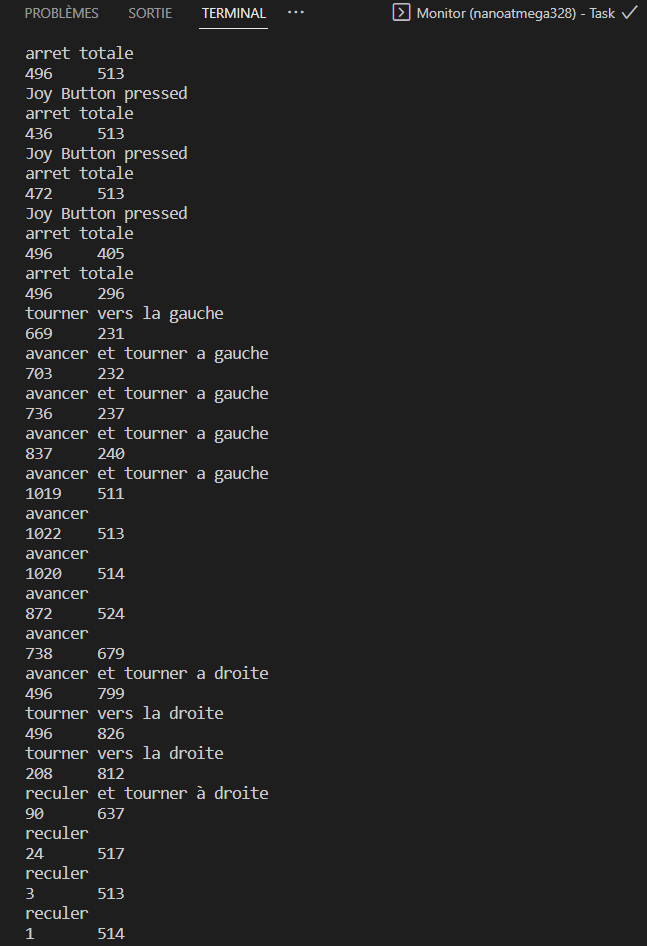
Una vez cargado el código en el microcontrolador, deberías ver cómo cambian los valores de X e Y según la posición del joystick, así como los estados de los motores correspondientes y el mensaje que aparece al pulsar el botón, en el puerto serie.
Librería ServoLib.h
Para utilizar esta biblioteca, debe crear y colocar los siguientes archivos en una carpeta del directorio de bibliotecas de su software de programación:
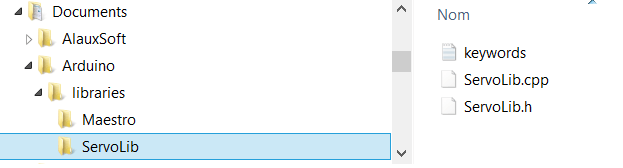
Si está programando en ¨Visual Studio Code con PlatformIO IDE, puede encontrar la biblioteca para su proyecto aquí: DocumentosPlatformIO\Proyectos\Servo_Joystick_Control\lib\ServoLib
Archivo servoLib.cpp :
//Librairie
#include <Servo.h>
//Déclaration des constantes
#define UPDATE_TIME 15
#define MAX_POS 180
#define MIN_POS 0
//Déclaration des paramètres
int servoPin = 9;
int pulse = 1500;
//Déclaration des variables
Servo myServo;  // création d'un objet Servo
// Sur la plupart des cartes, on peut créer jusqu'à douze objets
int pos=0;    // variable contenant la position du servomoteur
void setup() {
  myServo.attach(servoPin);
}
void loop() {
  for (pos = MIN_POS; pos <= MAX_POS; pos += 1) {
    myServo.write(pos);
    delay(UPDATE_TIME);
  }
  for (pos = MAX_POS; pos >= MIN_POS; pos -= 1) {
    myServo.write(pos);
    delay(UPDATE_TIME);
  }
}
Archivo servoLib.h :
#include <ServoLib.h>
ServoLib::ServoLib(){}
void ServoLib::associePin(int pin){
  servoPin=pin;
  pinMode(servoPin,OUTPUT);
}
void ServoLib::envoiePosition(int value){
  int pulse=0;
  if (value<MIN_POS)
    value=MIN_POS;
  else if (value>MAX_POS)
    value=MAX_POS;
  value=map(value,MIN_POS,MAX_POS,MIN_PULSE_WIDTH,MAX_PULSE_WIDTH);
  pulse=this->convertirAngleEnImpulsion(value);
  this->appliquerImpulsion(pulse);
}
void ServoLib::appliquerImpulsion(int pulse){
  digitalWrite(servoPin,HIGH);
  delayMicroseconds(pulse);
  digitalWrite(servoPin,LOW);
  delay(UPDATE_TIME);
}
int ServoLib::convertirAngleEnImpulsion(int ang){
  float a = 2500/180;
  float b = 500;
  return int(a*ang+b);
}
El archivo keyword.txt es opcional. Se utiliza para cambiar el color de los nombres de las funciones en el programa.
#######################################
# Syntax Coloring Map ServoLib
#######################################
#######################################
# Datatypes (KEYWORD1)
#######################################
ServoLib  KEYWORD1  ServoLib
#######################################
# Methods and Functions (KEYWORD2)
#######################################
associePin KEYWORD2
envoiePosition  KEYWORD2
convertirAngleEnImpulsion KEYWORD2
appliquerImpulsion KEYWORDS2
#######################################
# Constants (LITERAL1)
#######################################
UPDATE_TIME LITERAL1
MIN_POS LITERAL1
MAX_POS LITERAL1
MIN_PULSE_WIDTH LITERAL1
MAX_PULSE_WIDTH LITERAL1
Aplicaciones
- Crea un mando a distancia para controlar tu microcontrolador
- Utilizar uno o varios joysticks para controlar un brazo robótico articulado mediante servomotores.


Una duda el Arduino es alimentado por el cable que se le conecta a la laptop o ocupas de otra fuente de alimentación externa?
el arduino se puede alimentar mediante el cable usb del pc pero es preferible alimentar los servomotores mediante una fuente externa y juntar las masas