by Xukyo | 24 Nov 2020 | Tutorials
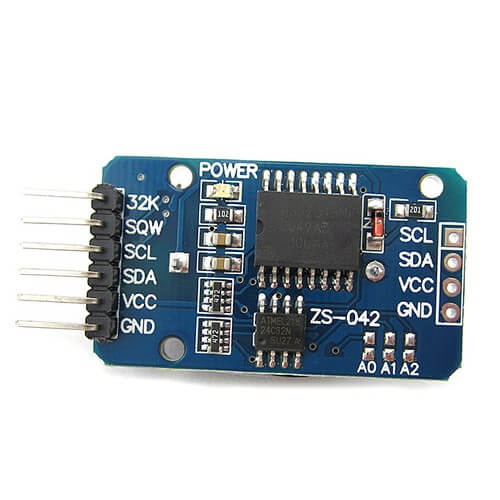
Every computer is equipped with an internal real time clock that allows it to know the date. Arduino type microcontrollers do not have PSTN. The DS3231 module gives the Arduino the ability to calculate the date, allowing it to control time more precisely. Hardware...
by Xukyo | 24 Nov 2020 | Tutorials
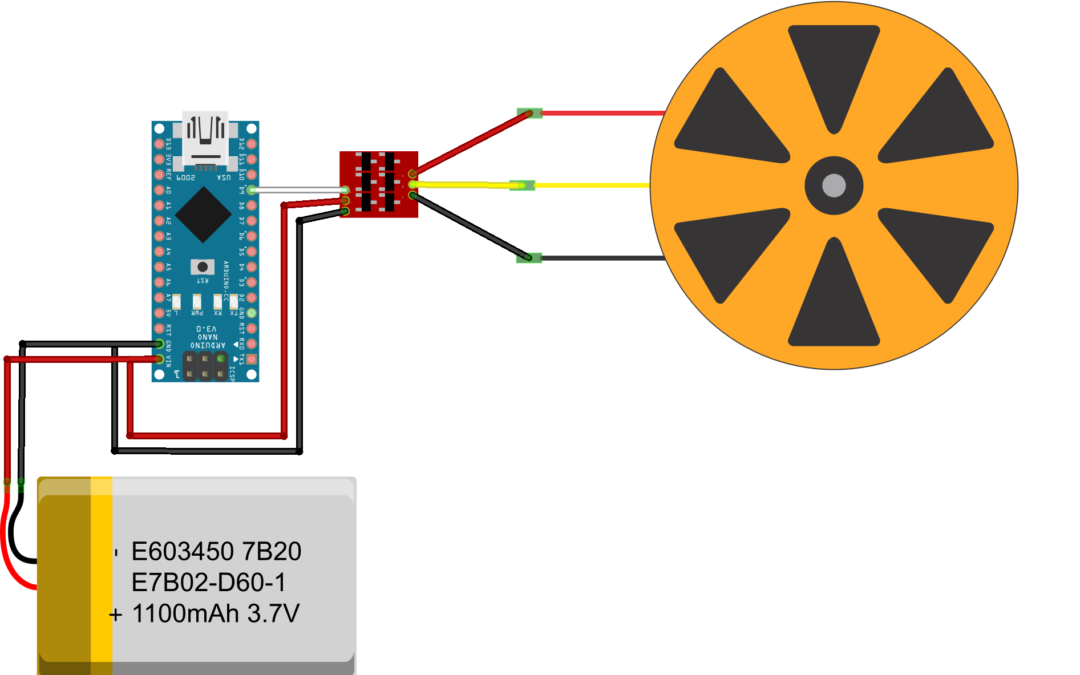
One of the main objectives of robotics is to articulate objects. To do this, it is very common to use electric motors. In the case of flying robots, such as drones, the actuators need a high rotational speed to turn the propellers and allow flight. In this case,...
by Xukyo | 24 Nov 2020 | Tutorials
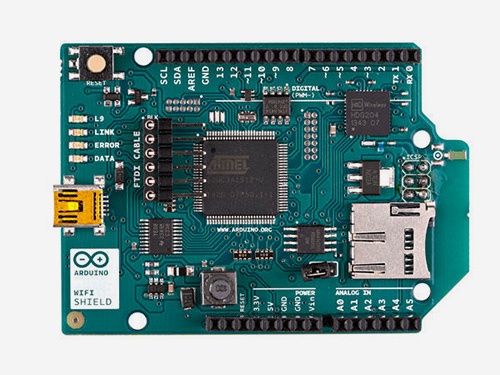
The WiFi Shield allows the Arduino card to connect to the internet via a wireless LAN. It integrates an SD card reader that allows to store data or a web page to drive the Arduino.The basis for creating connected objects is to connect them to a network such as the...
by Xukyo | 24 Nov 2020 | Tutorials
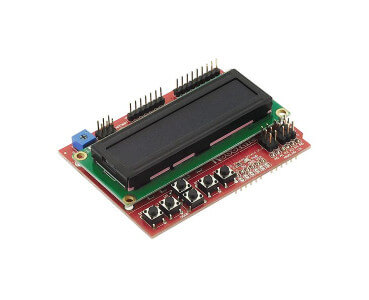
One of the most widely used information display elements in the Arduino world is the 16×2 LCD (Liquid Crystal Display). When manufacturing an electronic system, it can be interesting to have it give us some information about its status without having to connect...
by Xukyo | 24 Nov 2020 | Tutorials
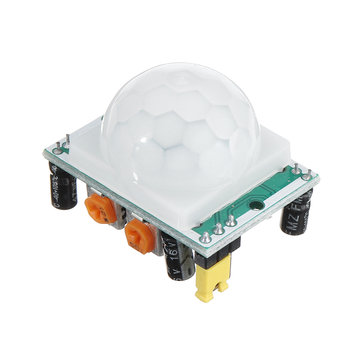
It is possible to activate a system, such as an alarm, by detecting the presence of a person using a PIR motion sensor. In home automation, it is common practice to operate devices when a person enters a room. This is made possible by motion sensors such as the...
by Xukyo | 23 Nov 2020 | Tutorials
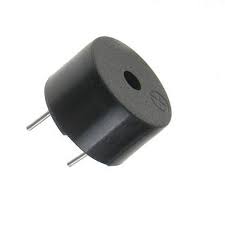
It is possible to emit sounds using a microcontroller by connecting a buzzer to one of its outputs. When you want to create a user interface, it is nice to have feedback according to the actions performed, whether it is a display, a light that lights up or changes...
by Xukyo | 23 Nov 2020 | Tutorials
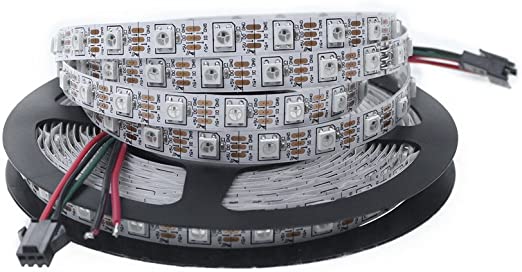
LED ribbons are made up of a succession of addressable RGB LEDs, i.e. the brightness and colour of each LED can be set independently. There are several ribbon models: single colour, non-addressable, 5 or 12V, etc. Pay attention to the model you want to use. Hardware...
by Xukyo | 22 Nov 2020 | Tutorials
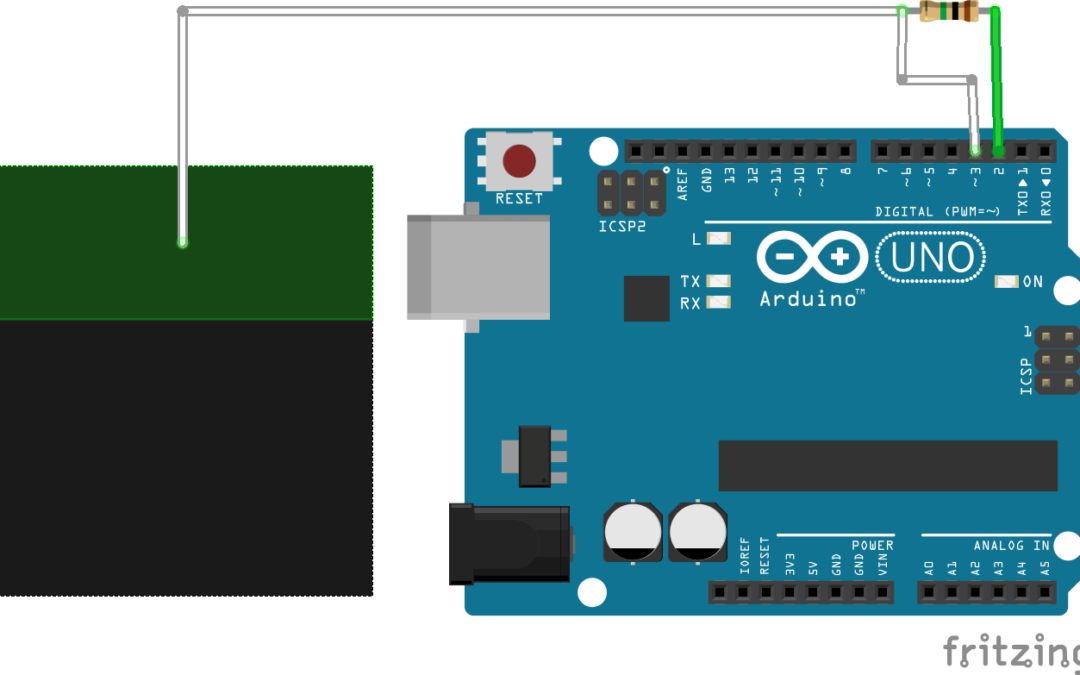
Capacitive sensors are commonly used in particular for object detection. They can, for example, detect the passage of an object on a conveyor belt or the level of a liquid in a tank. Closer to home, capacitive sensors are used in touch screens or as switches. In this...
by Xukyo | 3 Nov 2020 | Tutorials
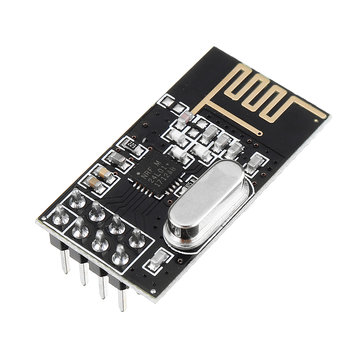
The radio module NRF24L01 is a transceiver for establishing a connection and transferring data from one device to another via radio waves. Hardware ComputerArduino UNO x2USB cable A Male to B MaleNRF24L01 x2 Principle of operation The nRF24l01 module is a low-power...


