To control and monitor your 3D prints remotely, you can use OctoPi on the Raspberry Pi. With OctoPi, you can launch a 3D print remotely, monitor the temperature of the print head and print bed, and watch the print using a camera. In this tutorial, we’ll look at how to configure OctoPi on a Raspberry Pi and how to start printing.
Hardware
- Computer with Internet connection
- 4GB SD card minimum, 8 or 16GB recommended
- Raspberry Pi 3 or 4
Configuring the SD card
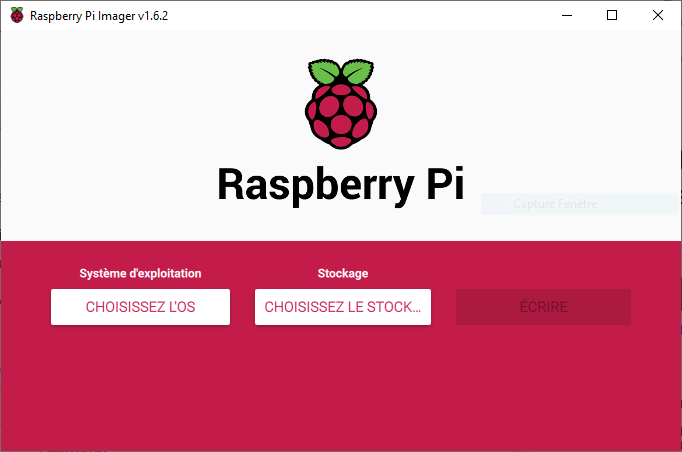
Download and install Raspberry Pi Imager
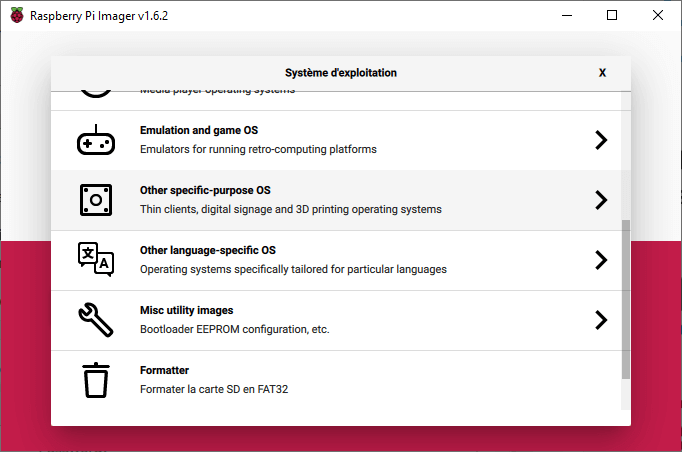
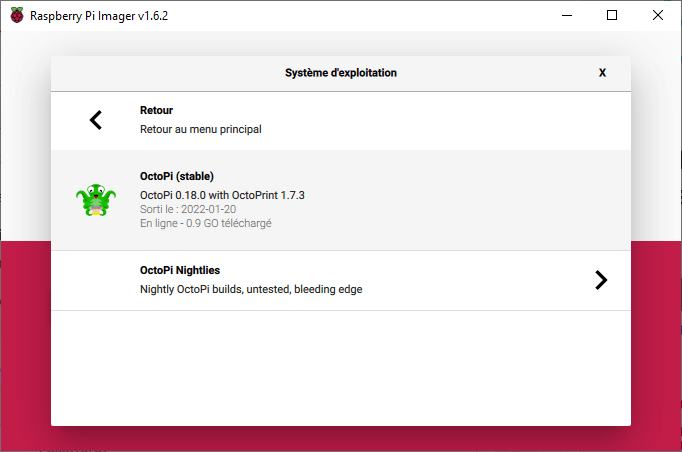
Press Select OS, then in Other specific-purpose OS> 3D Printing> select OctoPi, version Stable
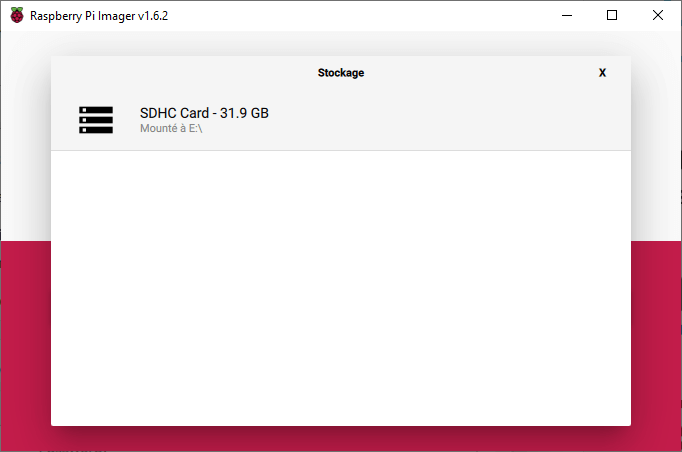
Select storage module
Press Advanced Settings (cogwheel) to enable SSH, configure WiFi and change password.
Warning: do not change the user name!


Press write to start writing OctoPi to the SD card
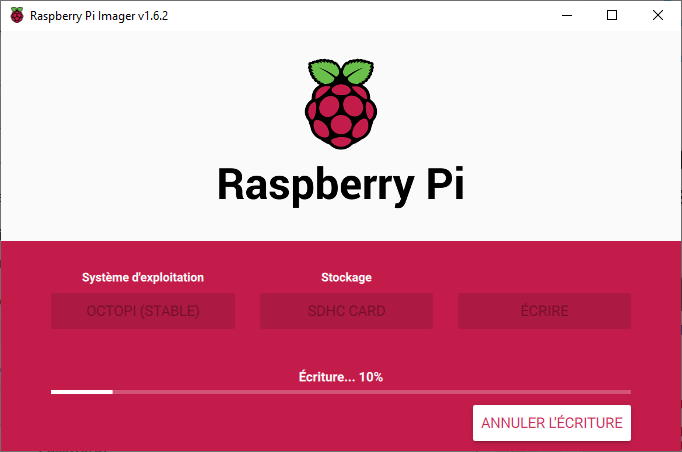
Once writing is complete, you can remove the SD card and insert it into the Raspberry Pi.
Installing OctoPi on Raspberry Pi
After inserting the SD card into the Raspberry Pi and switching it on, wait a few seconds while the card configures itself.
To access the Raspberry Pi , you can enter the http address in your browser http://octopi.local/ or via SSH using PuTTy software
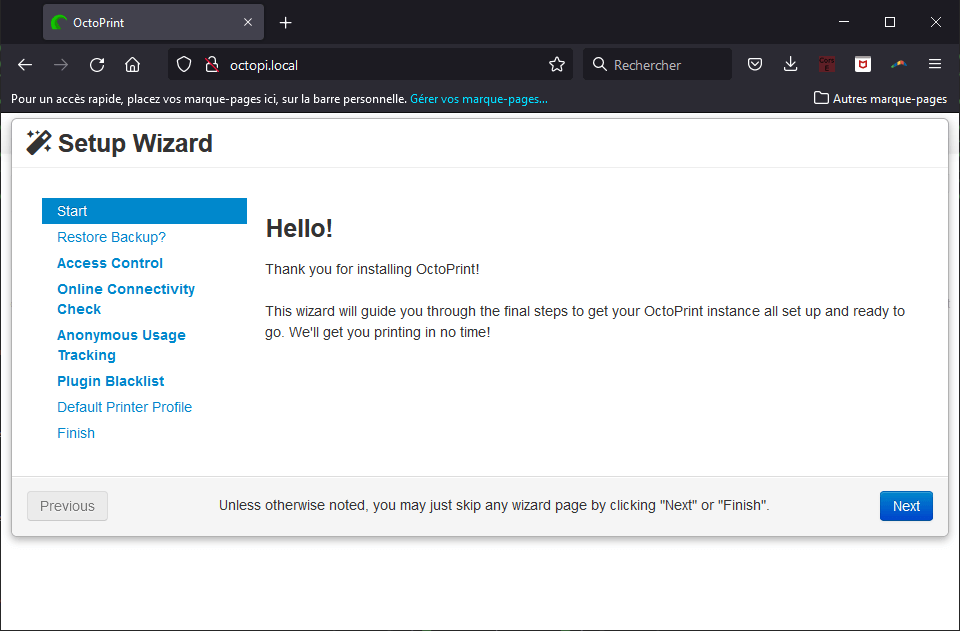
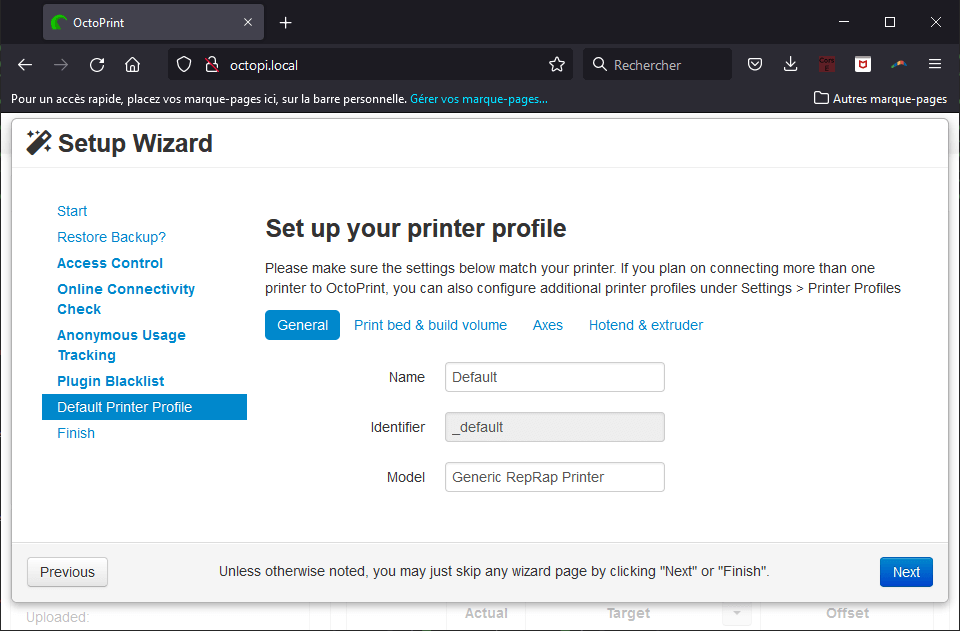
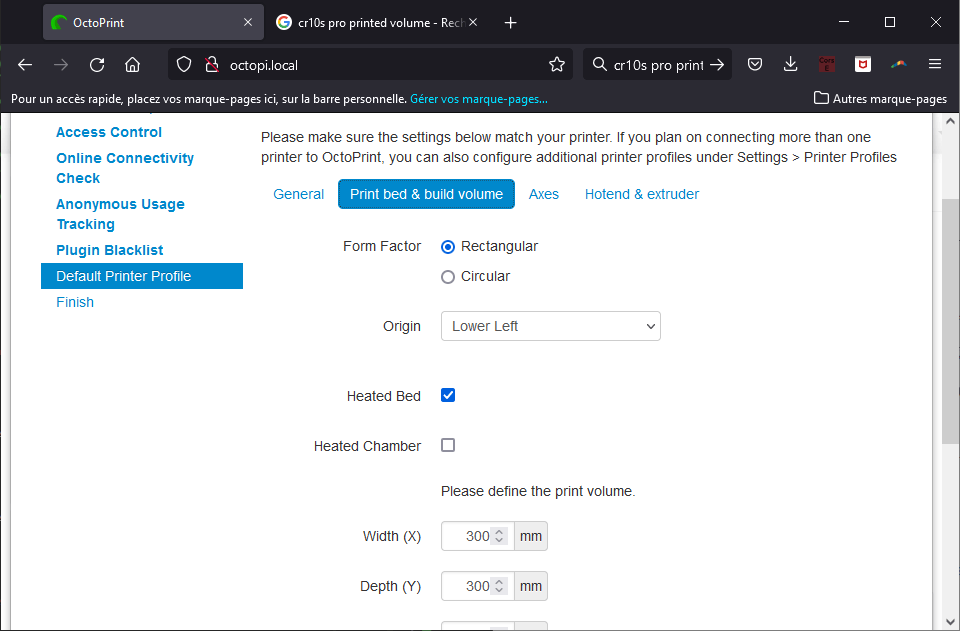
Follow the configuration procedure
Connecting a 3D printer
Place the Raspberry Pi close to the 3D printer and connect it using a USB cable.
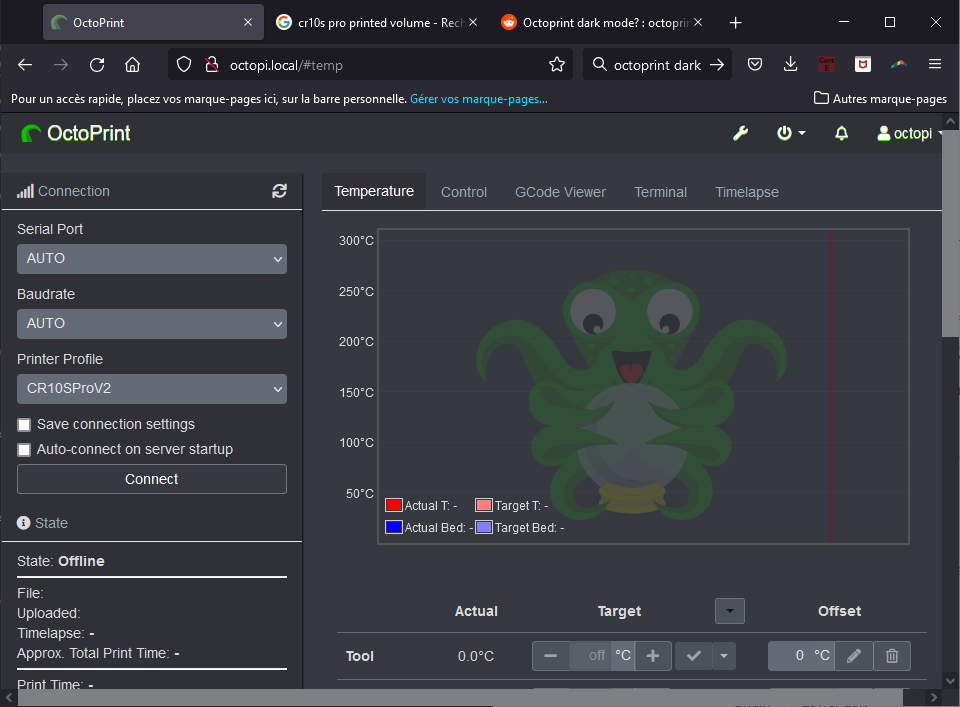
Select the serial port and press “Connect”.
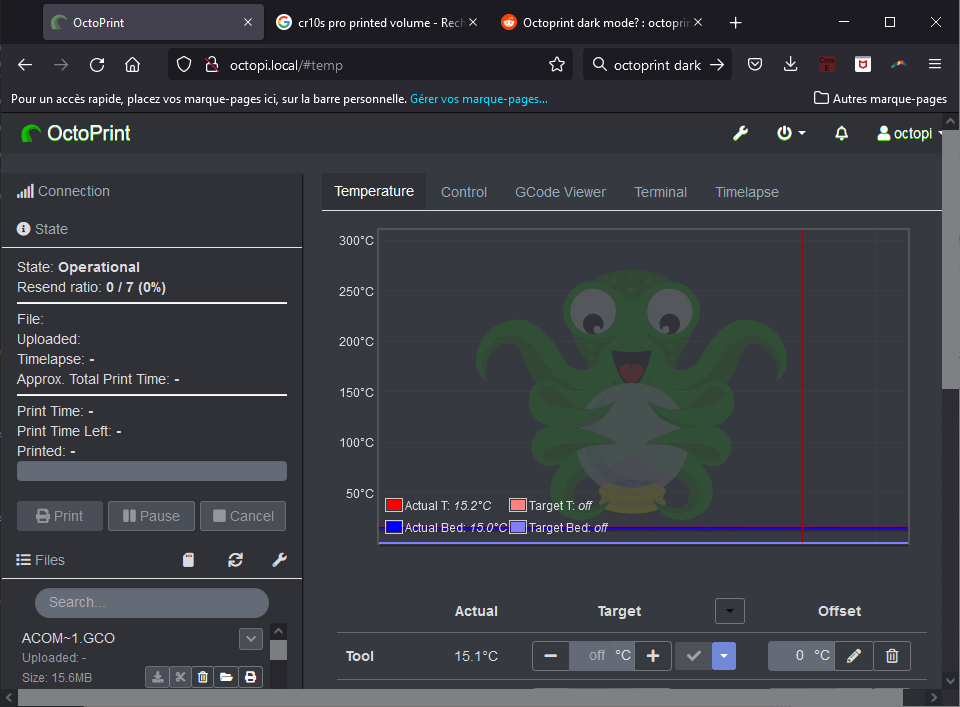
The list of SD card files you can print is available on the left-hand side of the interface.
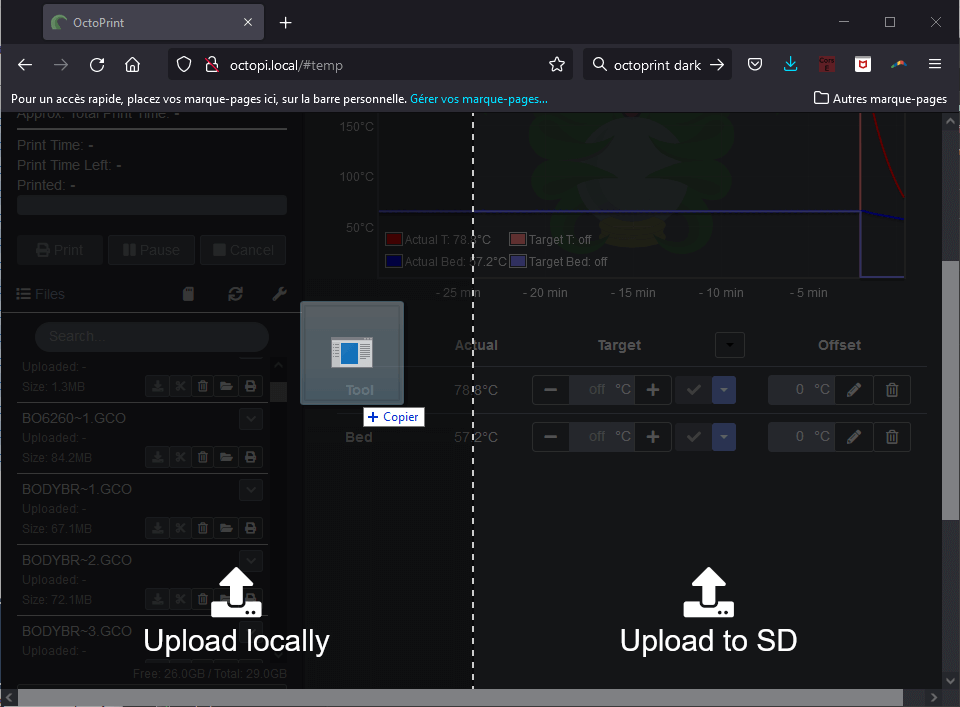
You can also upload files either locally or to the SD card by pressing the Upload button.
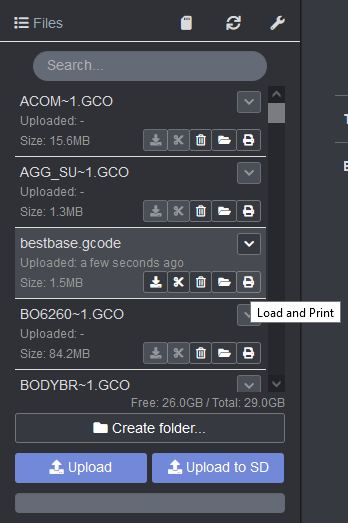
To create GCODE files, you can use 3D printing software, called Slicer, such as Cura or PrusaSlicer, from STL files containing 3D models.
All that’s left is to press the “print” icon under the file name to start printing.

Bonus: Installing a dark theme
To change the main theme to dark mode, you can install the Themeify extension
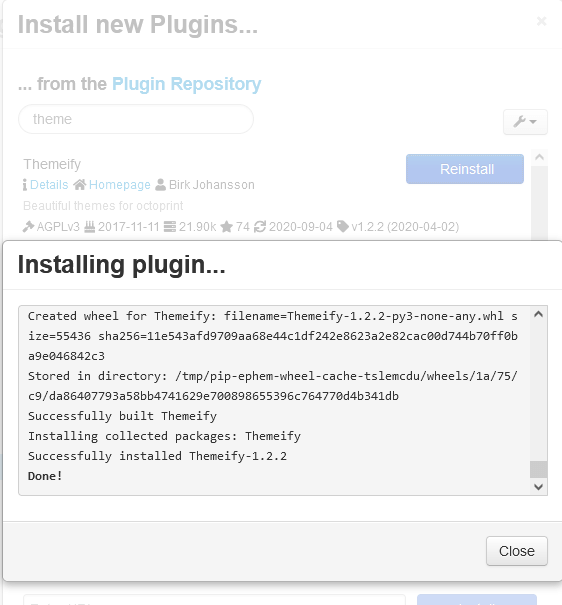
In octoprint Settings > Plugin manager
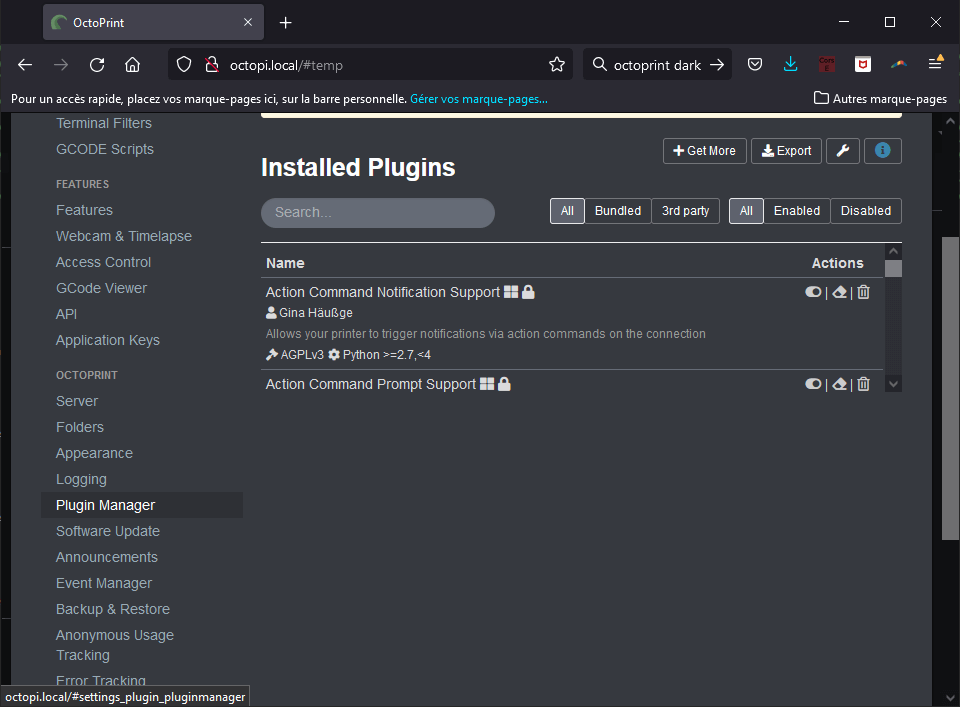
Search and install Themeify
Results
Bonus: Configuring the PiCamV2
It’s possible to use the PiCamV2 as a surveillance camera with OctoPrint. To do this, you need to access the Raspberry Pi via SSH (or live with a screen and keyboard).
- Activate Camera interface
sudo raspi-config Select Interfacing Options -> Camera -> Yes
- Check that the camera is detected and working
vcgencmd get_camerareturns normally: supported=1 detected=1
- Edit the Octopi.txt file
sudo nano /boot/octopi.txtReplace camera=”auto ” with camera=”raspi “You can modify the line camera_raspi_options=”-x 640 -y 480 -fps 10″ with a compatible resolution (check picam resolution).
Enter the following command to see the port used by the webcan (here: 127.0.0.1:8080)
sudo nano /etc/haproxy/haproxy.cfg


