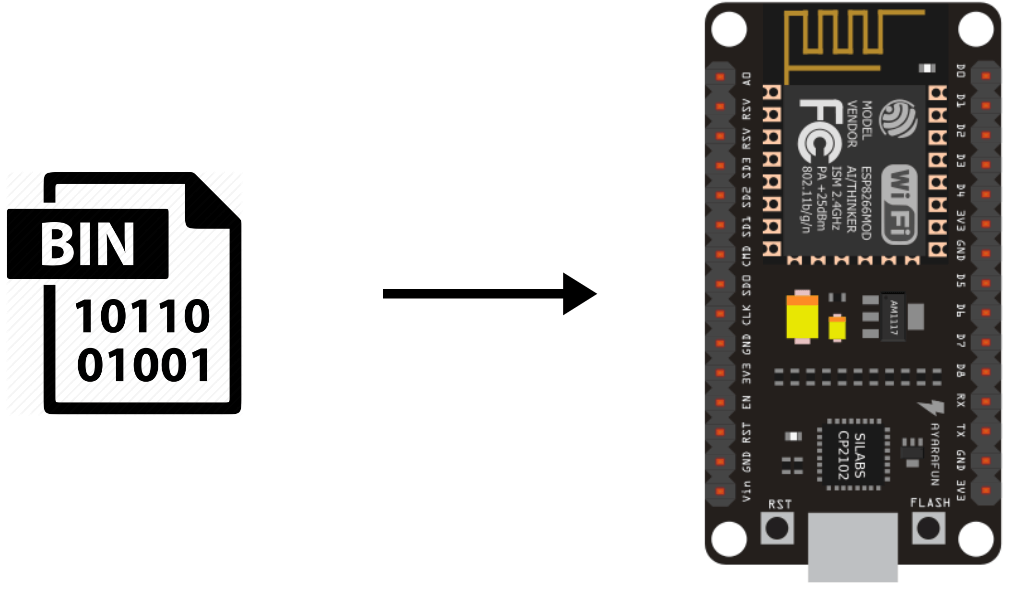
When you have a number of cards to flash with the same program, it can be interesting to flash the compiled BIN file directly into the ESP8266. This has two interests. It saves you time on uploading and it protects your source code if you share the program with others. It gives them the possibility to upload the program on other microcontrollers (in case of failure, for example) without risk of modifying the source code.
You should not need it every day but I will show you the method to generate the BIN file and upload it to an ESP8266 microcontroller. This method can be adapted for other microcontrollers like Arduino and ESP32 with other tools.
Generate the BIN file with the Arduino IDE
In the Arduino software, go to the File menu then Preferences.
Check the boxes “detailed results during” for compilation and upload (Verbose mode)
Select the port and type of card to which you want to upload the program.
When you press Compile or Upload, the Arduino IDE creates a build file in the folder AppData\Local\Temp\ where the binary file is located. You can find the name of the file in the console of the IDE during the compilation or the upload.
After the compilation:
After an upload:
You can copy and store the generated BIN file anywhere on your computer.
Load the BIN file using the Windows command prompt
You can simplify the task by installing PowerShell which works like the terminal but with the ability to use copy/paste.
After launching the upload on the Arduino IDE, you get the upload command.
You can copy this command in the command prompt to upload the program to the microcontroller. Don’t forget to modify with the new path of the BIN file.
Then press the “Enter” key to upload the program. (Tip: once you know the command, you can create a bash file to automate the process).
N.B.: If you want to upload the BIN files from another computer (especially if the Arduino IDE is not installed), don’t forget to install the drivers necessary to recognize the microcontrollers.
Load the BIN file using NodeMCU Programmer
Download the NodeMCU flasher software.
Open the version that corresponds to your system (32 or 64 bits).
Select the port of the microcontroller that you can find in the device manager.
In the “Advanced” tab, select the “DOUT” option for SPI Mode.
Select the BIN file where you saved it.
In the “Operation” tab, you can now press “Flash” to upload the binary file
Don’t forget to reset the card so that the upload is taken into account.

