Radxa’s Rock Pi 4 board can run Debian, Ubuntu or Android OS. In this tutorial, we’ll show you how to configure and use your microcomputer with Android.
Hardware
- Rock Pi 4 SE
- 32 GB SD card
- HDMI display
- Keyboard+mouse
- USB A to USB A cable
Download and install OS
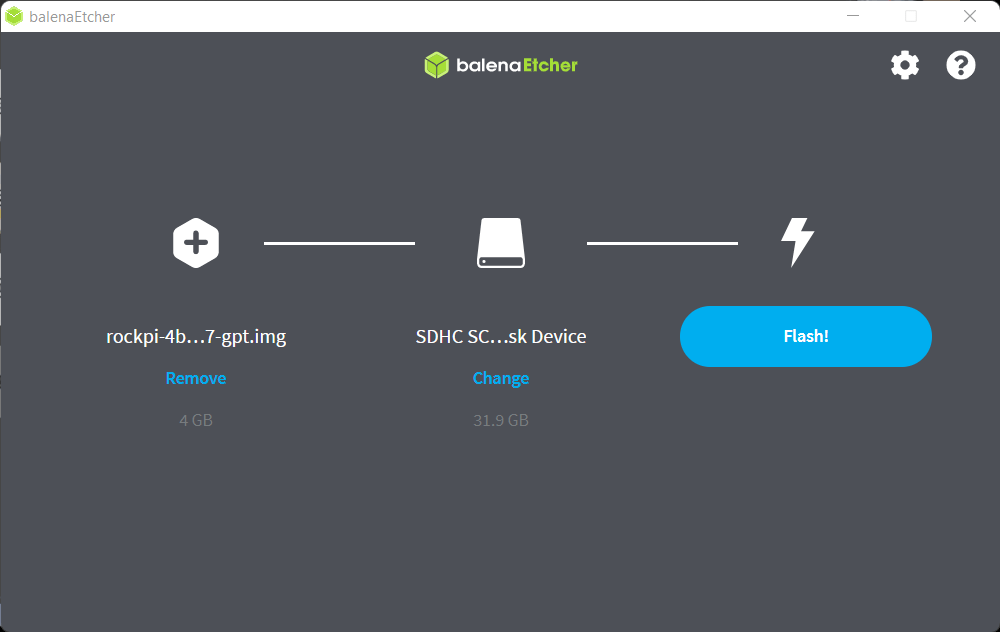
Download the Android OS, then use balenaEtcher to write the image to the SD card.

Once the card has been written, be sure to close all windows before ejecting the SD card.
Insert the SD card into the Rock Pi 4, then power up the Rock Pi.
You can then follow the procedure for installing Android on Rock Pi 4
N.B.: You can skip the section on Google services, as you’ll have trouble getting this device validated.
Once you’ve installed Android, you can start having fun.
N.B.: in settings, disable notifications from all default applications
In Settings > About Phone, retrieve the device IP address
Installing and configuring Android Studio
Installing Android Studio on your computer will be very useful for Android development.
Download and install Java JDK 11
Configure JAVA_HOME in environment variables (C:\Program Files\Microsoft\jdk-11.0.17.8-hotspot\)
Download and run the Android Studio installer
Configure ANDROID_HOME in environment variables (C:\Users\ADMIN\AppData\Local\Android\Sdk)
Check Gradle version (graddle-wrapper.properties) and Gradle plugin version (build.gradle)
Using Android Debug Bridge
Installing Android Studio will give you access to Android Debug Bridge (ADB). ADB is a command terminal that lets you communicate with an Android device from your computer.
Connect the USB 3 port on top of the Rock Pi to your computer using the USB A to USB A cable.
Then activate the switch located under the USB ports (OTG switch) on the Rock Pi side to activate Device mode. Once the device is connected and recognized by the computer, you can use ADB commands from a terminal.
To check that your device is correctly detected
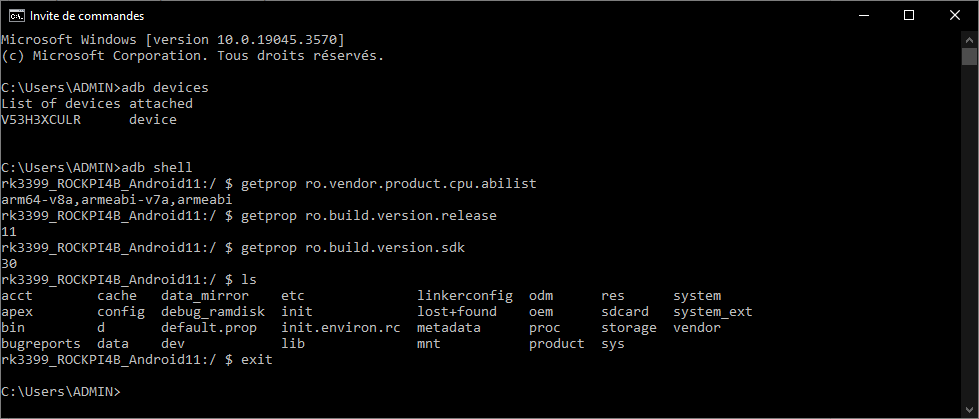
adb devices
You can transfer files from your computer to the Rock pi with the command
adb push <local path> <remote path>
To transfer files from Rock Pi to your computer
adb pull <remote path> <local path>
Access the Android log file
adb logcat
To connect to the Device Terminal
adb shell
or

adb -s <serial number> shell
N.B.: you can execute a command directly on the device with the adb shell command .
Once in the shell, you can navigate the device’s system. Here are some useful orders
getprop # display all properties
getprop ro.build.version.release # get android version
getprop ro.build.version.sdk # get API level
getprop vendor.serialno # get serial number
getprop ro.vendor.product.cpu.abilist # get CPU info
getprop ro.product.vendor.name #get device name

ifconfig #get network informations
To terminate the shell connection, enter the command
exit

Most access to system files is blocked. To allow access to folders, use the command su
su # enter super user mode
<enter command>
exit # exit super user mode

To switch off the device, use the reboot command
reboot -p
Download an APK file
You can download an application from the Google Play store or directly from the Internet.
You can also retrieve an APK file you’ve created:
- with a USB key
- with drive or Gmail mailbox
- transfer the file using SSH or ADB
The apk can be installed via the graphical interface or the command line
adb install -r <apk_file.apk>
Download a Linux terminal to your RockPi
To be able to develop under Android on Rock Pi, it can be interesting to use a terminal. Here are two applications you can use to navigate your Android device:
Switching off
To switch off the device, instead of switching off the power supply, you can activate the accessibility menu in Settings > Accessibility > Accessibility menu
A button will appear at the bottom of the screen, giving you access to an icon menu containing the “Power off” button.


