When working on an electronics project, it’s a good idea to put your ideas on paper to make sure you do not forget anything before implementation. This allows you to verify the concept and to share a clear representation of your work with other interlocutors (students, colleagues, customers, suppliers, etc.). Fritzing allows you to draw schematic diagrams, specify connections between components, and route electronic boards to verify the functionality of the assembly before it is made. Fritzing already has a large collection of components but you may need a component that is not represented. In this case, it may be interesting for you and the community to create it.
Material
Choose a drawing software
We want to represent a speed controller for brushless motor, the HK-XP3A.
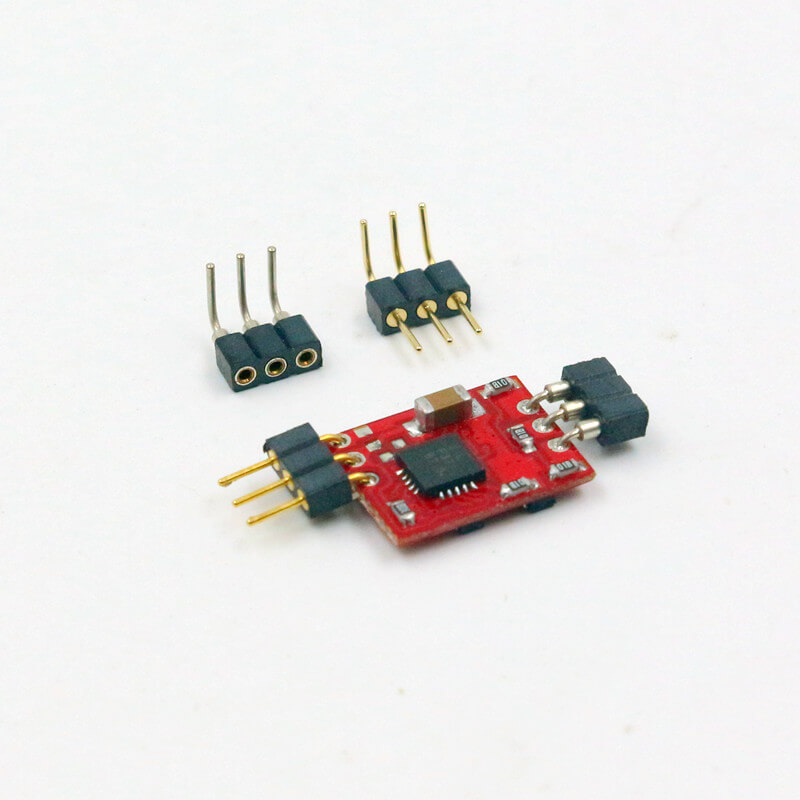
There is a lot of 2D software for drawing a component for Fritzing. The latter uses different file formats. The important thing is to have a vector representation of the different objects of the drawing so that they can be recognized by Fritzing (especially the pins). I use Inkspace, free software that creates SVG files, but you can use the one you prefer.
Draw the component with Inkspace
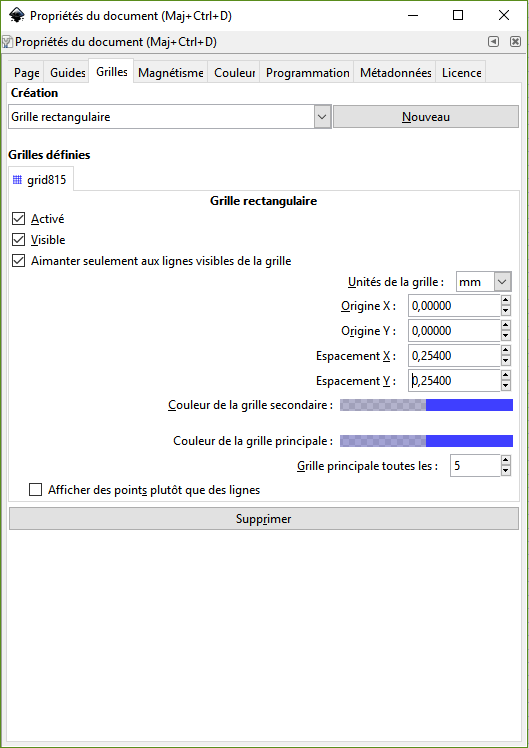
In “File> Document Property”, on the Grids tab, select “Rectangular Grid” and click New. Select mm as the grid unit and set the X and Y spacing to 0.254 because most commercially available components use this dimension.
Take the extreme dimensions of the components (in our case, 13x11mm). Draw a rectangle or a circle according to the components.
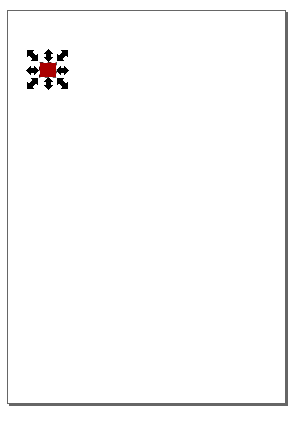
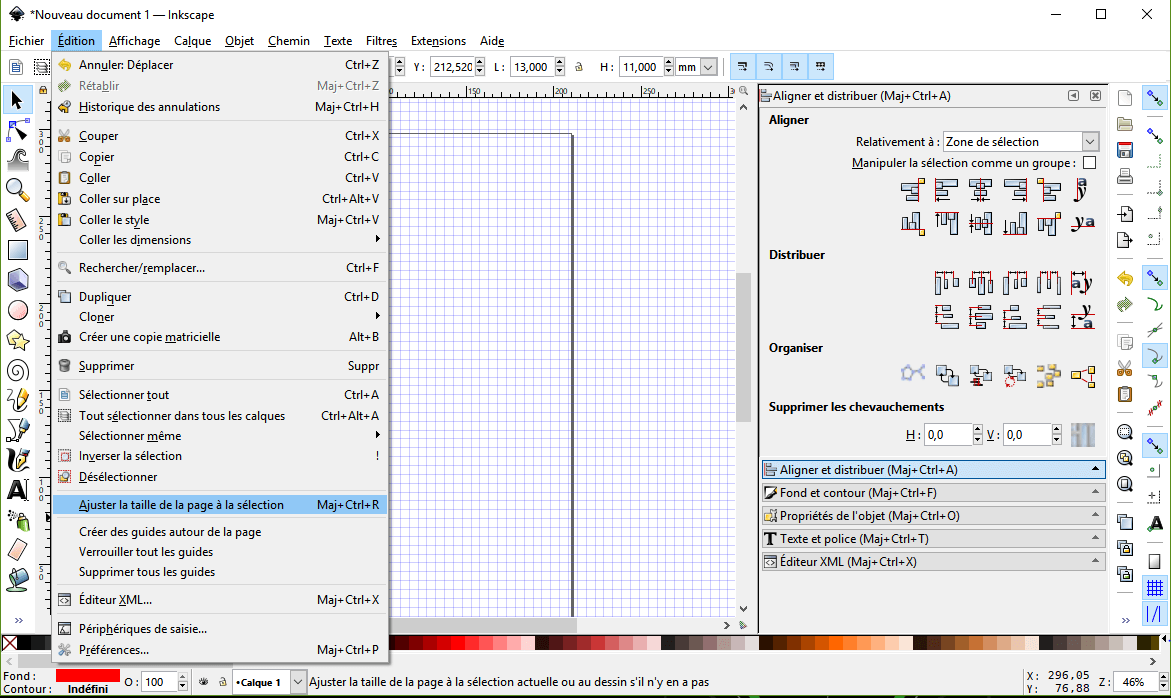
The first thing to do is to resize the page because it will correspond to the limits of the component in Fritzing. Select the object then in “Edit> Adjust the size of the page to the selection” (or SHIFT + Ctrl + R)
Then, you need to add a schematic representation for each component element (square for a pin, disk for a hole, rectangle for the USB port, etc.). A handy tool for placing your objects is the alignment tool found in Object> Align and Distribute (or Shift + Ctrl + A). You can align objects horizontally or vertically and space them evenly. There is also the Group object (Object> Group or Ctrl + G) which makes it possible to group objects and to consider them as a single object that is easier to handle.
In some cases, it may be more readable to add text. In Inkspace, only Droid or OCRA fonts are compatible with Fritzing.
Make sure that you have represented all the elements you need and save the file in .SVG format. Take special care for your drawing because if you have to modify it, you will have to repeat the following procedure.
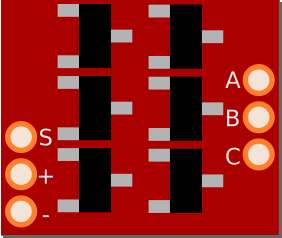
Fritzing, among other things, allows you to check the concept as a whole and to share it. An emphasis must be placed on readability as well as functionality. In other words, it is not necessary to make a realistic drawing or to overload with many objects or annotating. However, if you want to share it with the community, it is always good to do the best to prevent someone to redo your work (for example, I would make sure that all inputs / outputs of the component are well represented even if they are not used in the project).
In this part, I was interested only in the breadboard representation of the component. For schematic or pcb representations, you also need to create an SVG file.
Edit the component in Fritzing
We will start from a generic component to create ours. In core components, select IC with the number of pins you want (in our case, 6). You can also choose the basic component that best matches your component in terms of schematic view or circuit board. Then, right click on the component and select “Edit (new part editor)”
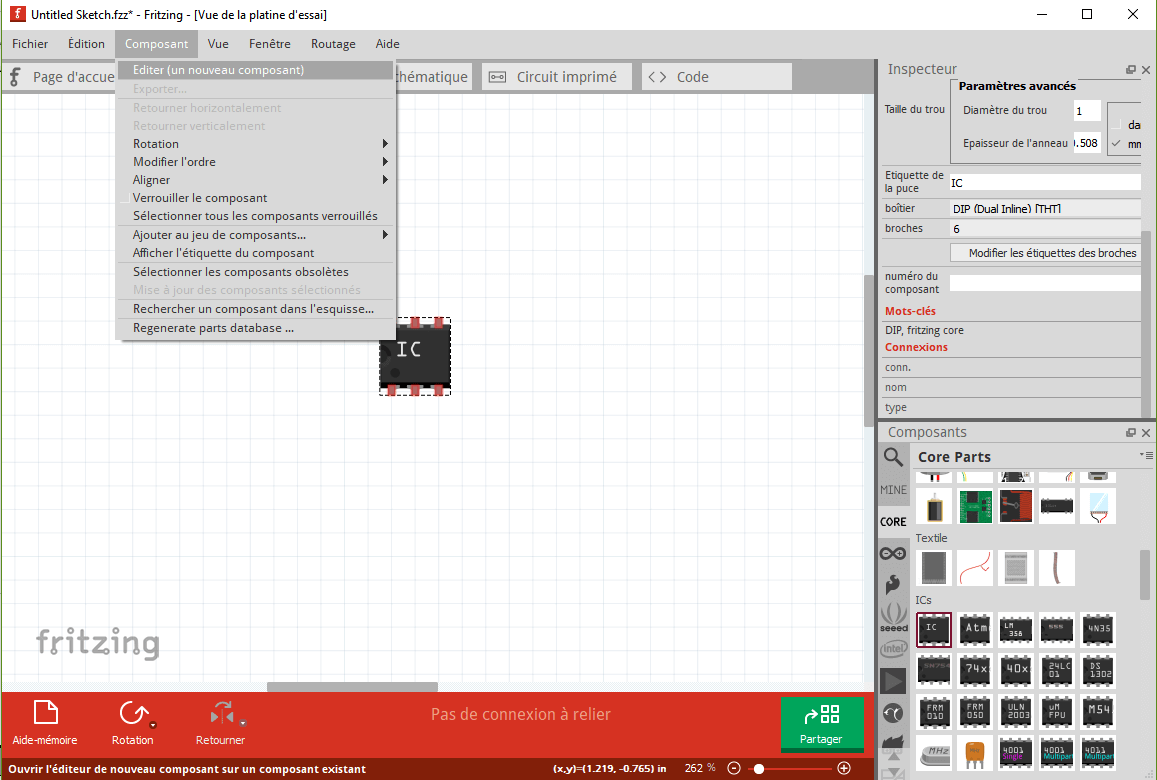
Edit the component in Breadboard View. In the editor, under the File menu select “Load image for this view …” and choose the SVG file created previously.
In the editor the drawing appears. We can notice that the different elements of the drawing are highlighted when you move your mouse over it.
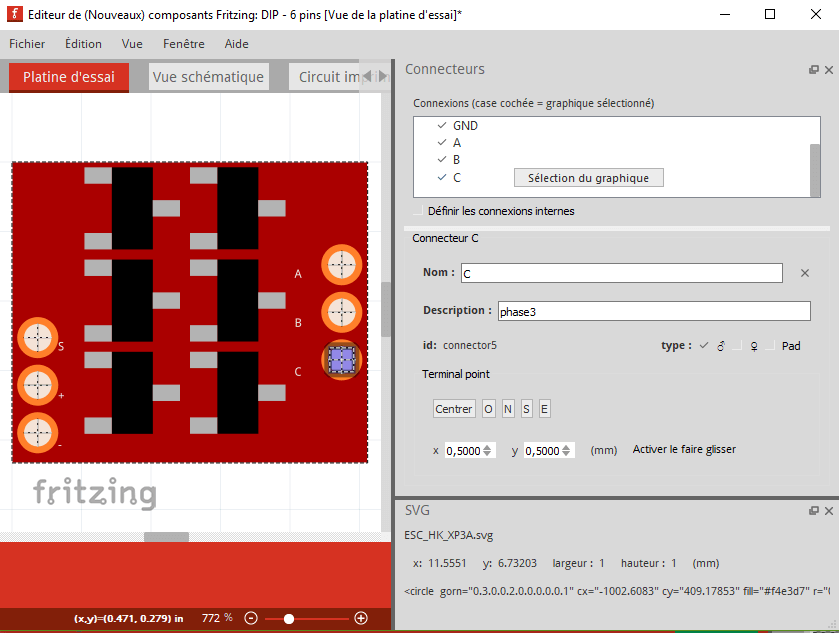
We will focus on the highlighted areas corresponding to the pins. You must associate all the areas that correspond to pins. To do so, click on each pin in the list and press “Select graphic” and then select the area that corresponds to a pin. A cross will appear on the selected area. For clarity, you can add a name and description to the pin to clarify its function. You can add more information about your component in the “Metadata” and “Connectors” tabs. This information may be modified later.
If necessary, you can define the internal connections between different zones. This allows to connect the grounds of a card, for example. To do this, check the box “Define internal connections” under the list of pins. You can then draw connections between the pins.
To find your component more easily in the Fritzing list, update the component icon using the same image as for the Breadboard view under the “Icon” tab.
Use your Fritzing Component
Save your work and return to the sketch. Your component is saved in the Fritzing component list, in the MINE tab that corresponds to the components you have created (saved in the. \ Fritzing \ parts folder).
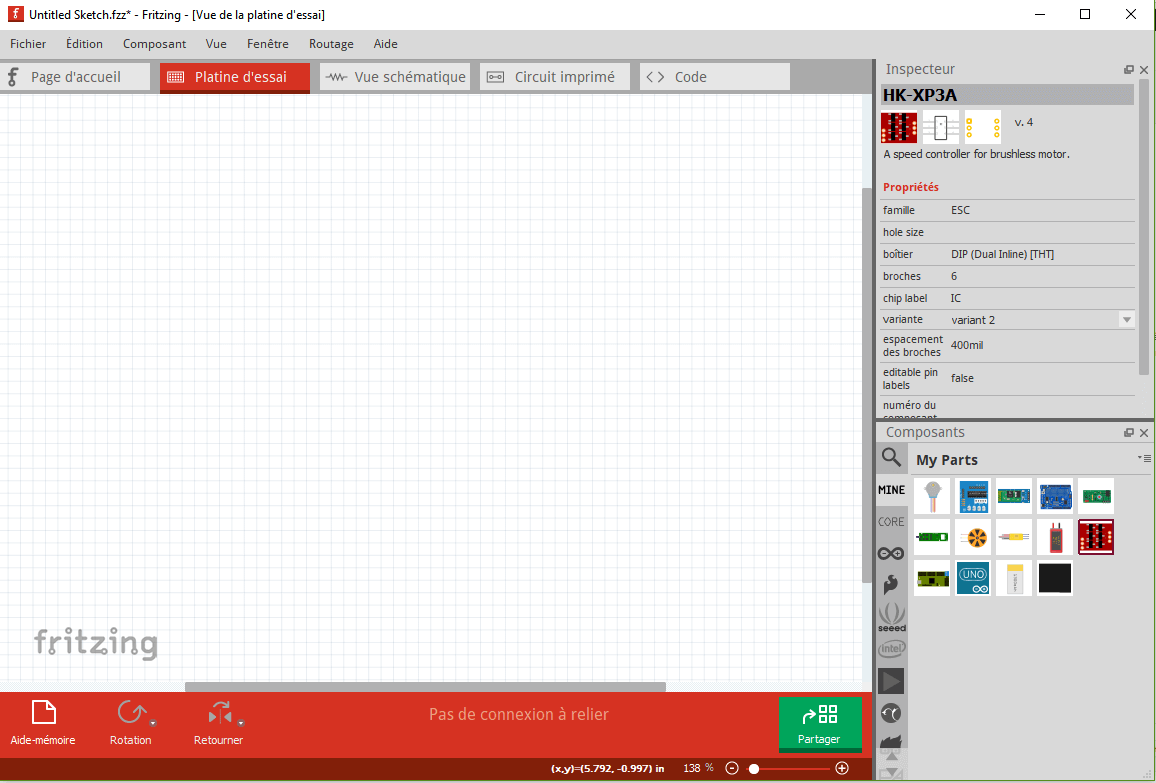
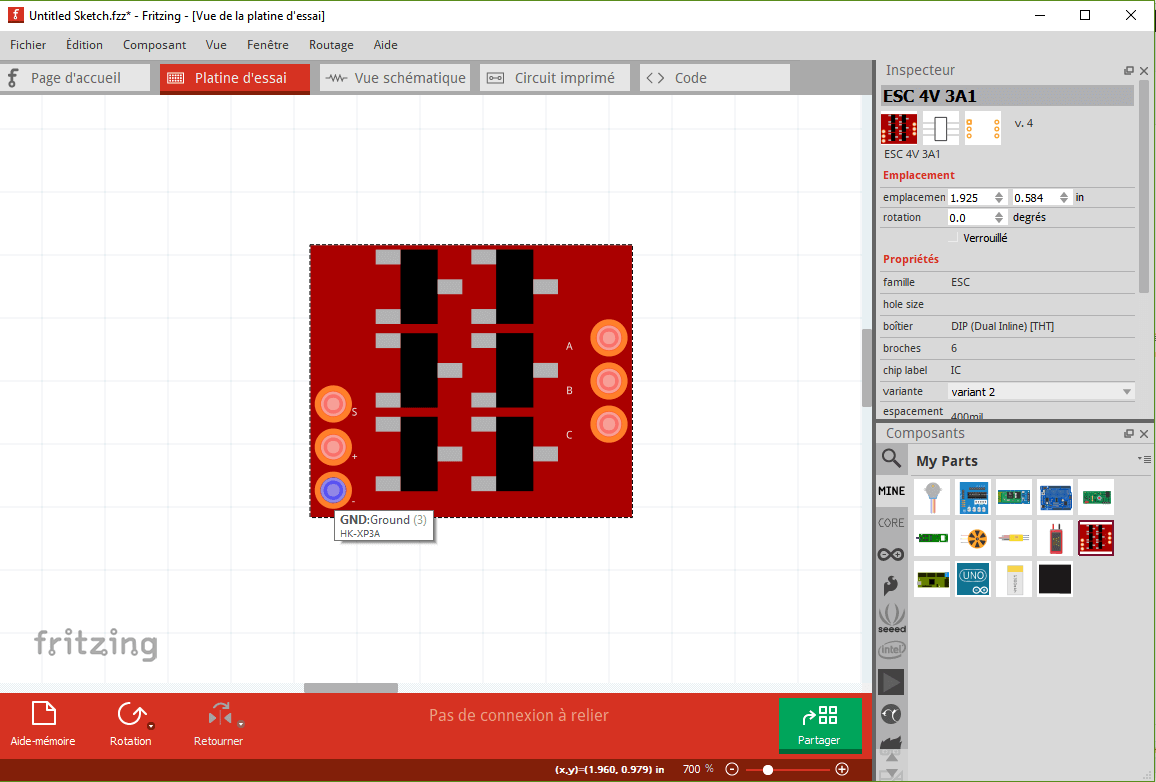
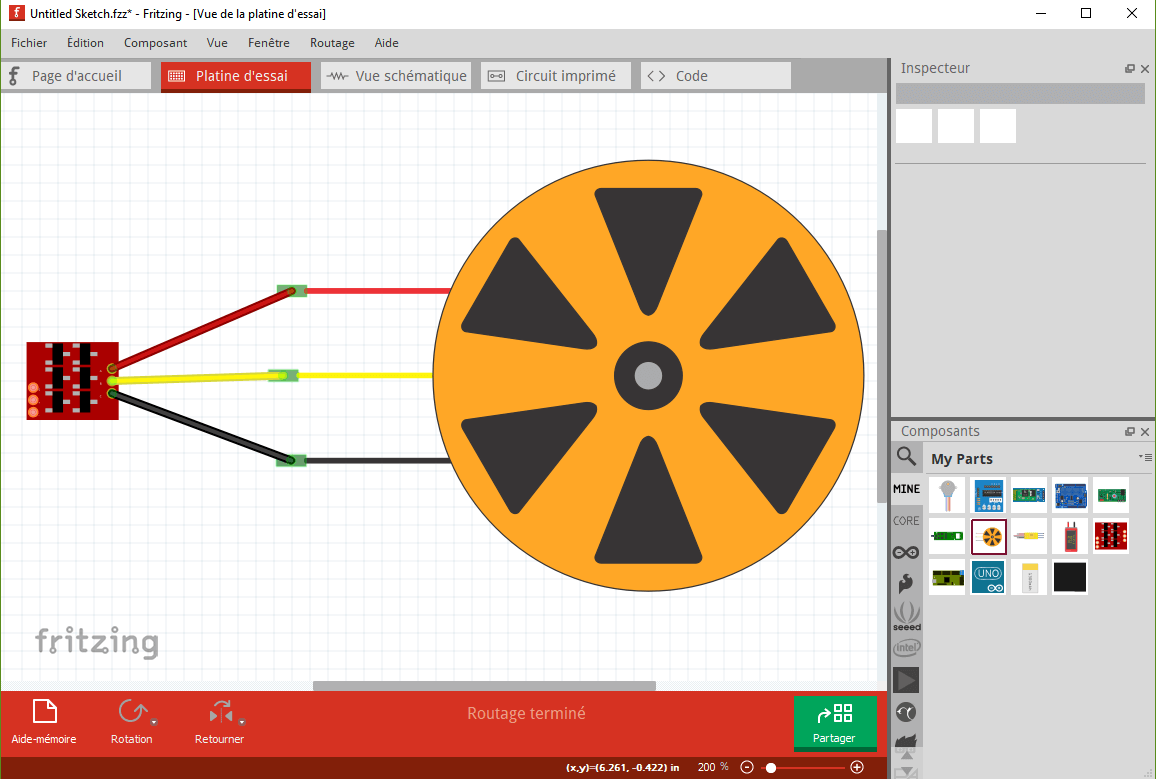
Now, the description of the pins is displayed when pass over the corresponding area and you can connect it with other components.
Source
A well presented tutorial on the same subject


