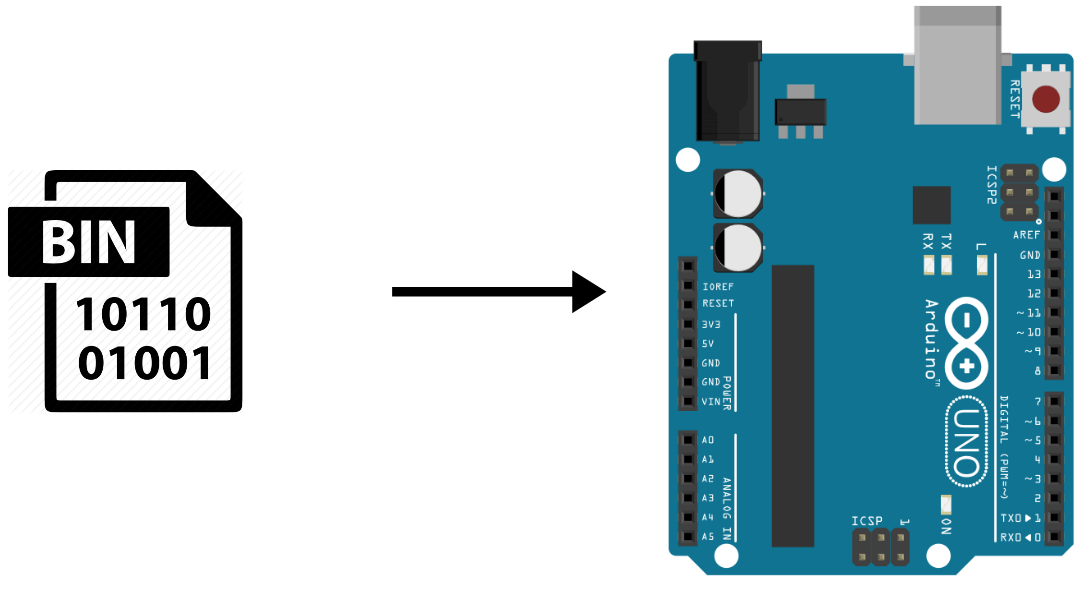
When you have a number of Arduino boards to flash with the same program, it can be interesting to flash the HEX compiled file directly. This has two interests. It saves you time on uploading and it allows third parties to upload a program without using the Arduino IDE.
You should not need it every day but I will show you the method to generate the HEX file and upload it to an Arduino microcontroller. This method can be adapted for other microcontrollers like ESP8266 and ESP32 with other tools.
Generate the HEX file with the Arduino IDE
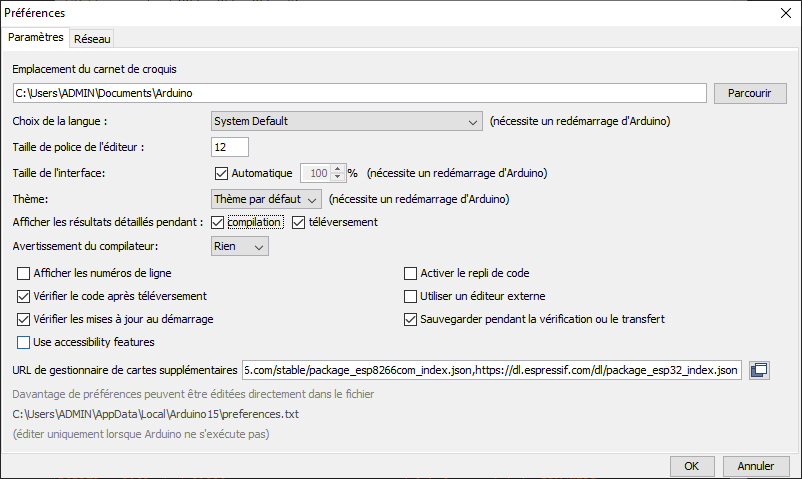
In the Arduino software, go to the File menu then Preferences.
Check the boxes “detailed results during” for compilation and upload (Verbose mode)
Select the port and type of card to which you want to upload the program.
When you press Compile or Upload, the Arduino IDE creates a build file in the folder AppData\Local\Temp\ in which the HEX file is located. You can find the name of the file in the console of the IDE during the compilation or the upload.
After the compilation:

After an upload:

You can copy the generated HEX file somewhere else on your computer.
Upload the HEX file using the Windows command prompt
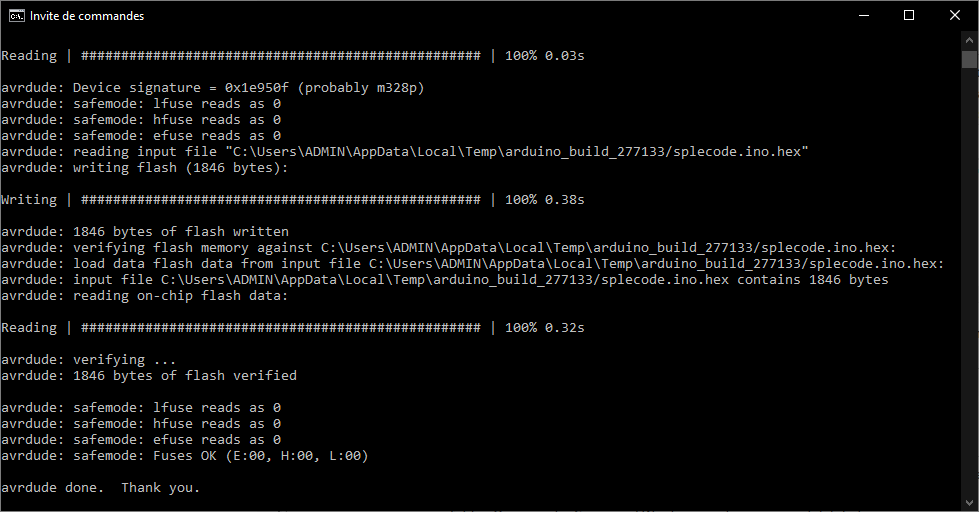
After launching the upload on the Arduino IDE, you get the upload command.

You can copy this line to the command prompt to upload the program to the microcontroller. Don’t forget to modify with the new path of the HEX file and to add quotation marks around the paths containing spaces.

Then press the “Enter” key to upload the program. (Tip: once you know the command, you can create a bash file to automate the process).
N.B.: If you want to upload the HEX files from another computer (especially if the Arduino IDE is not installed), don’t forget to install the drivers necessary to recognize the microcontrollers.
Upload the HEX file with XLoader
Download the XLoader software.
Run the executable file XLoader.exe
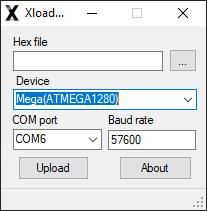
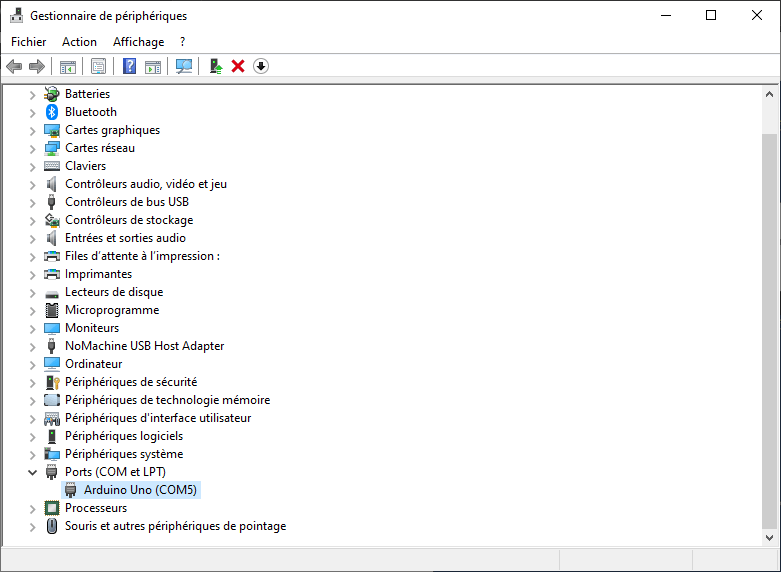
Select the port of the microcontroller that you can find in the device manager.
Select the right baudrate. In our case, 115200.
Then select the HEX file at the location where you saved it.
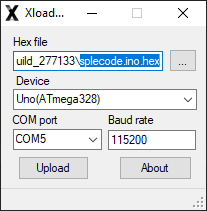
You can then press “Upload” to upload the file.
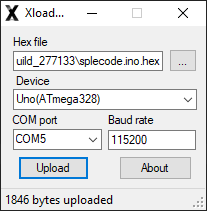


very very good
Doesn’t work really well on Windows 10 – however I may have a dud Arduino UNO. Will try again with an out of the box unit.
This tutorial was made with Windows 10 what is your issue?
Why are you sending me images in French – I do not read, write, or speak French!!!
Sorry about that. The tutorial was initially written in French and my setup is in french.
Most part is in english though
I downloaded Xloader several times to a win10 system and extracted the files and tried to run them. The very first time, it seemed to run, but I did not test it. I then sent it to a person that had a use for it. He loaded it and found that it did nothing. Nothing at all. He tried installing avrdude. And ran Xloader again, still nothing. I then tried running it again on my PC and got nothing. I re downloaded and still nothing. Both Pc were win10.
I put it out of my mind for a few weeks and now tried it again. Again nothing. No window. I even tried as administrator.
Hi,
It seems to be an issue with Xloader
Hello,
I am looking for a software like xLoader to upload a HEX-File to a “Arduino Nano RP2040 Connect”.
Can you offer me a solution for a option for the xLoader Software?
Thank for your cooperation
Best regards
Hans
Hi,
You need to find a flash programmer for Cortex M0+
J-link software maybe
Let me know if it works
Is their support for portenta h7?
Didn’t find any
Hello,
Just writing here to say “Big Thank You” for providing this tutorial.
This is a life saver for me!
Been looking for option to OTA update for my Mega2560 board, but wired is fine too.
Works well with my set up.
Thank you again for sharing.
Best Regards.
Why only HEX ?
What about EEP file ?
Hello,
That’s because Arduino IDE generates hex files.
If you have a tutrorial on EEP files do not hesitate to send it!